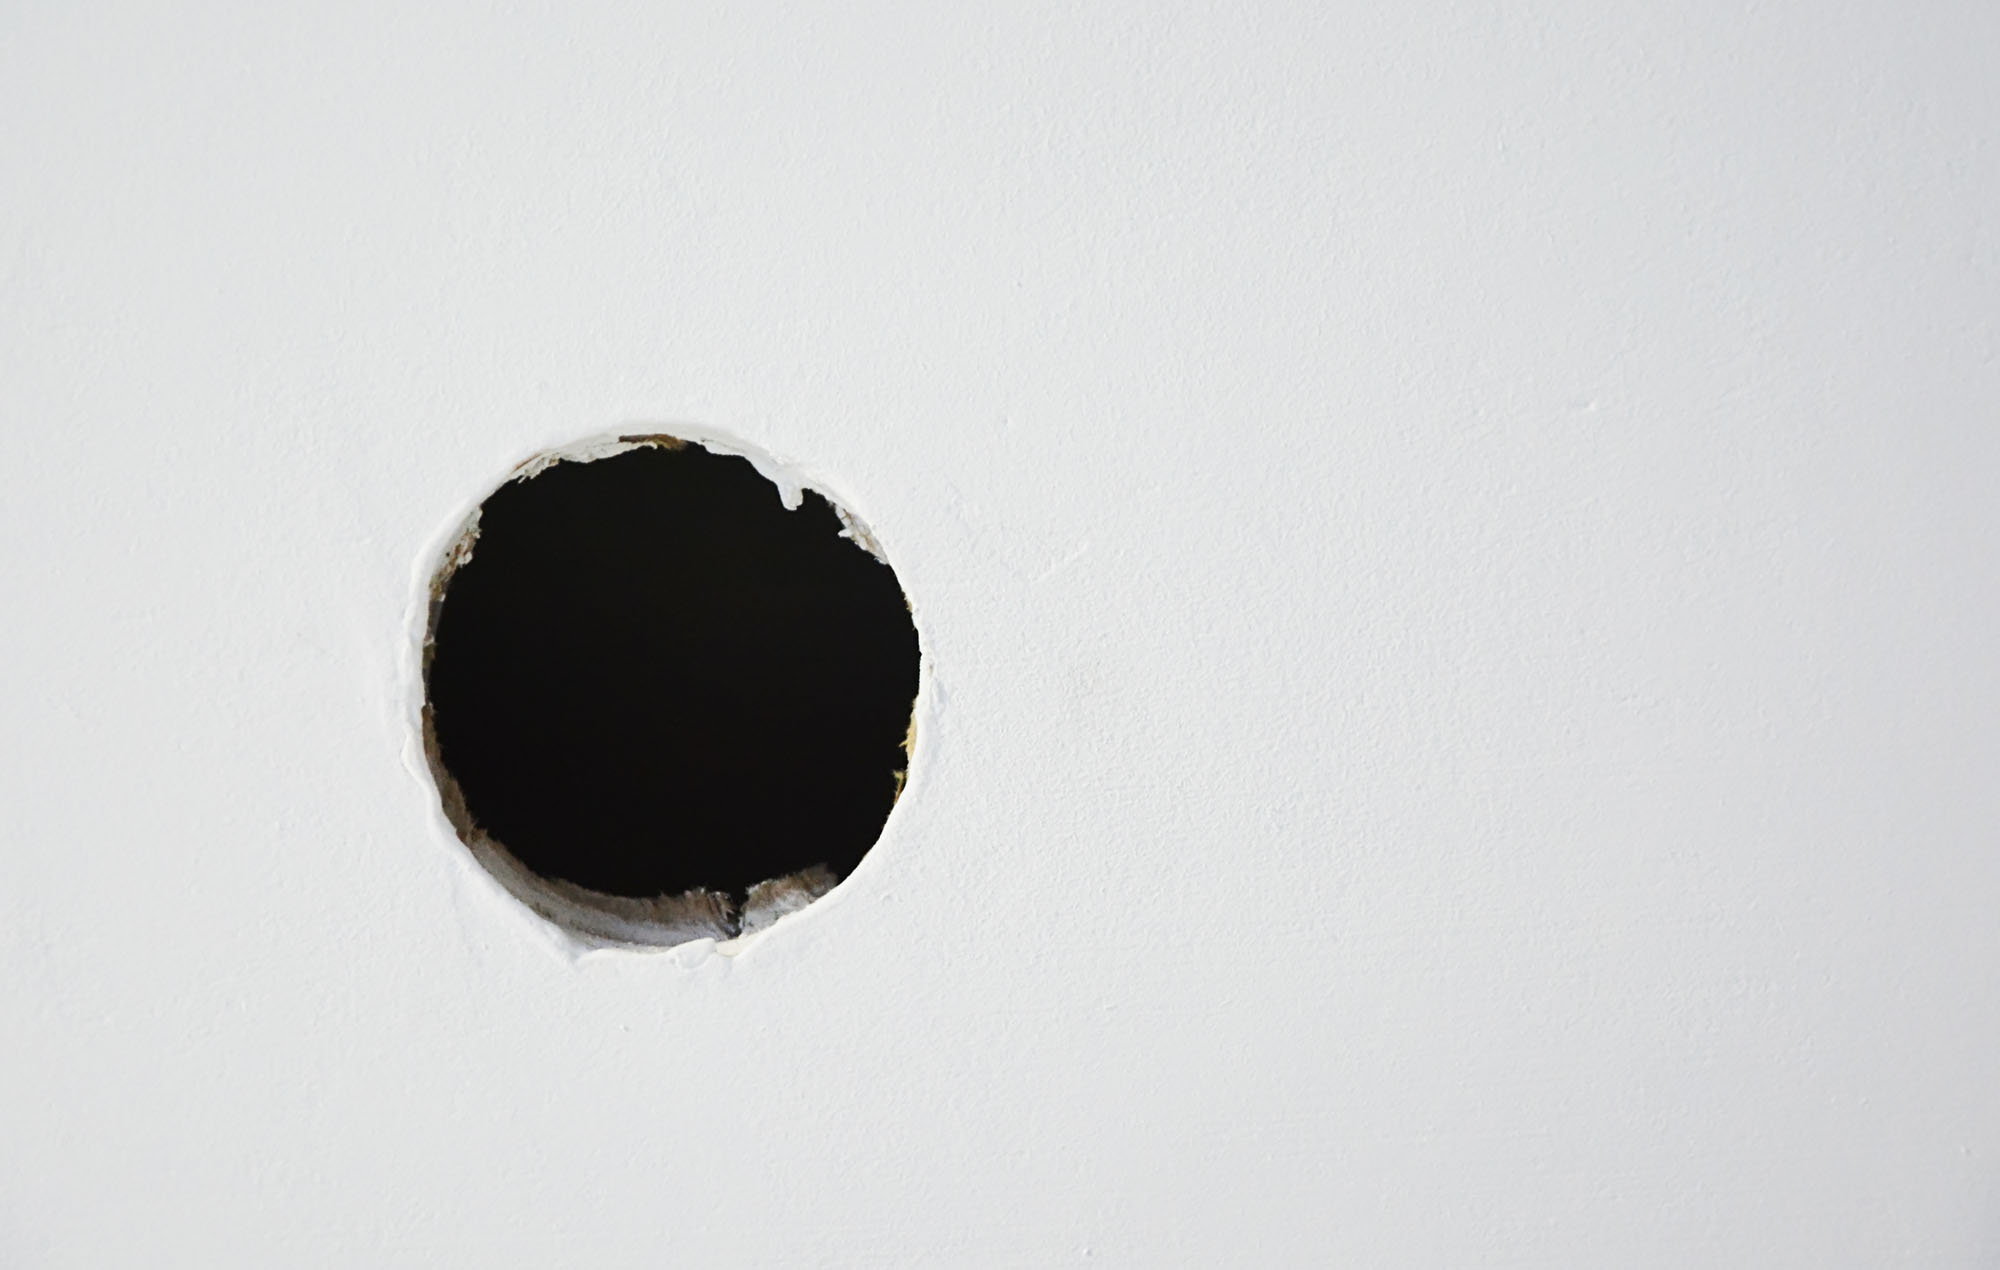
Depending on whether you own or rent a property, unwanted holes in your drywall can be either an annoyance or the one thing standing between you and your security deposit. If you find yourself staring at a hole in your wall — and your check book — don’t panic! It turns out that patching drywall holes is far easier than it looks. All you need are a few supplies and a little knowhow.
What you’ll need
- 1 wall repair patch (make sure the patch is larger than the hole itself)
- Joint compound
- 120-150 grit sandpaper
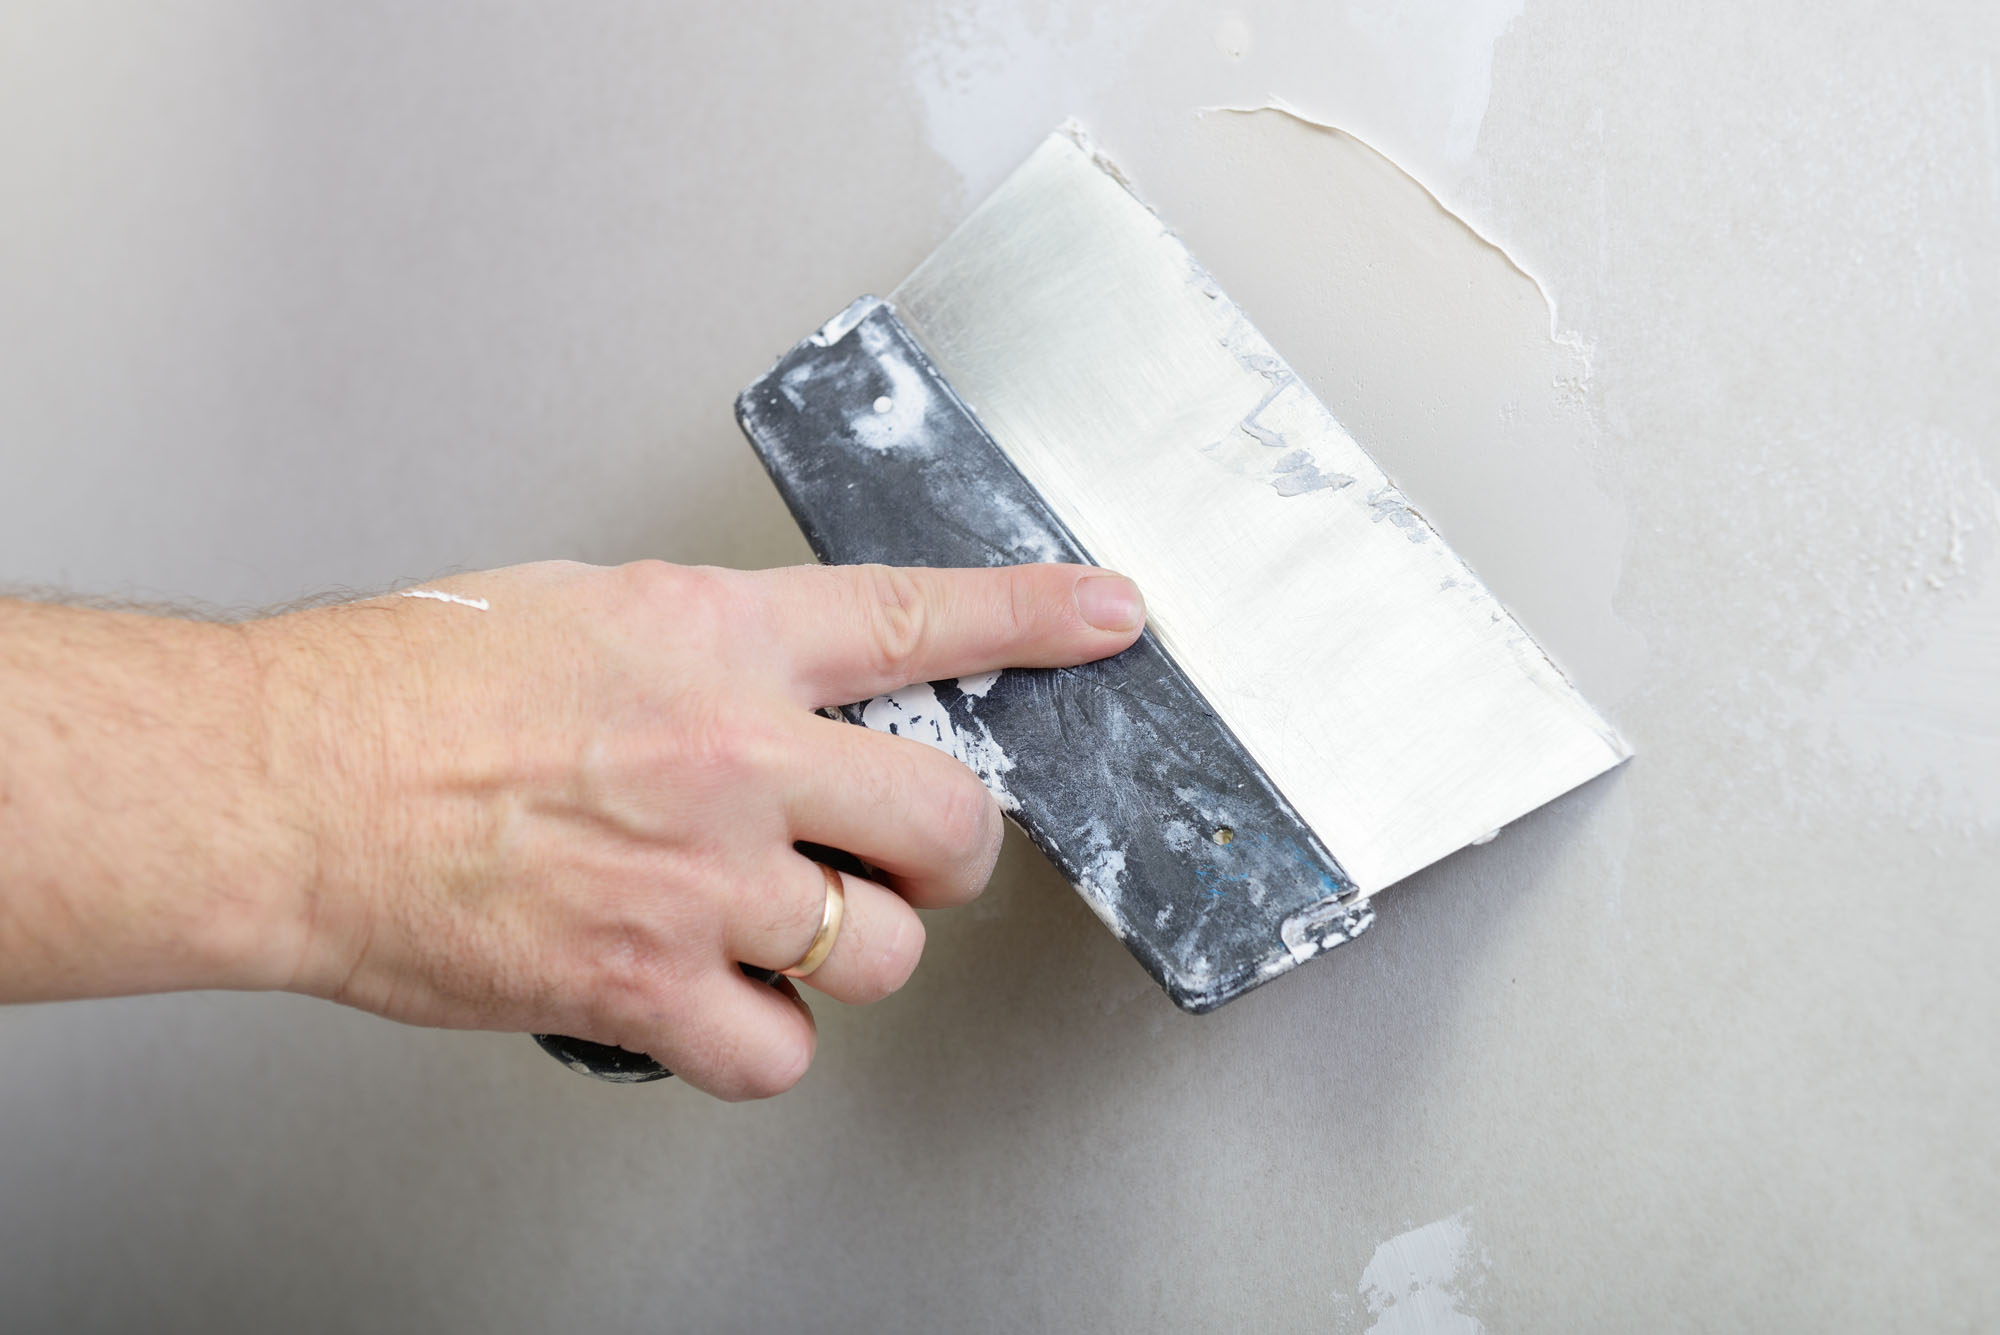
- Joint Knife
- Craft Knife
What to do
1) We’re going to assume that the hole in question isn’t a perfect circle. So start by using the craft knife to neaten up the hole. Essentially, you want the surface of the wall to be as flat and level as possible.

2) Clean the surface of the wall with a dry cloth
3) Remove the liner of the wall patch and place the patch over the hole. Press firmly to seal the edges.

4) Using the joint knife apply one layer of joint compound. Make sure the compound is just thick enough to cover the patch. You don’t want it too thick otherwise you’ll have a bulge on your wall.
5) Leave the compound to dry

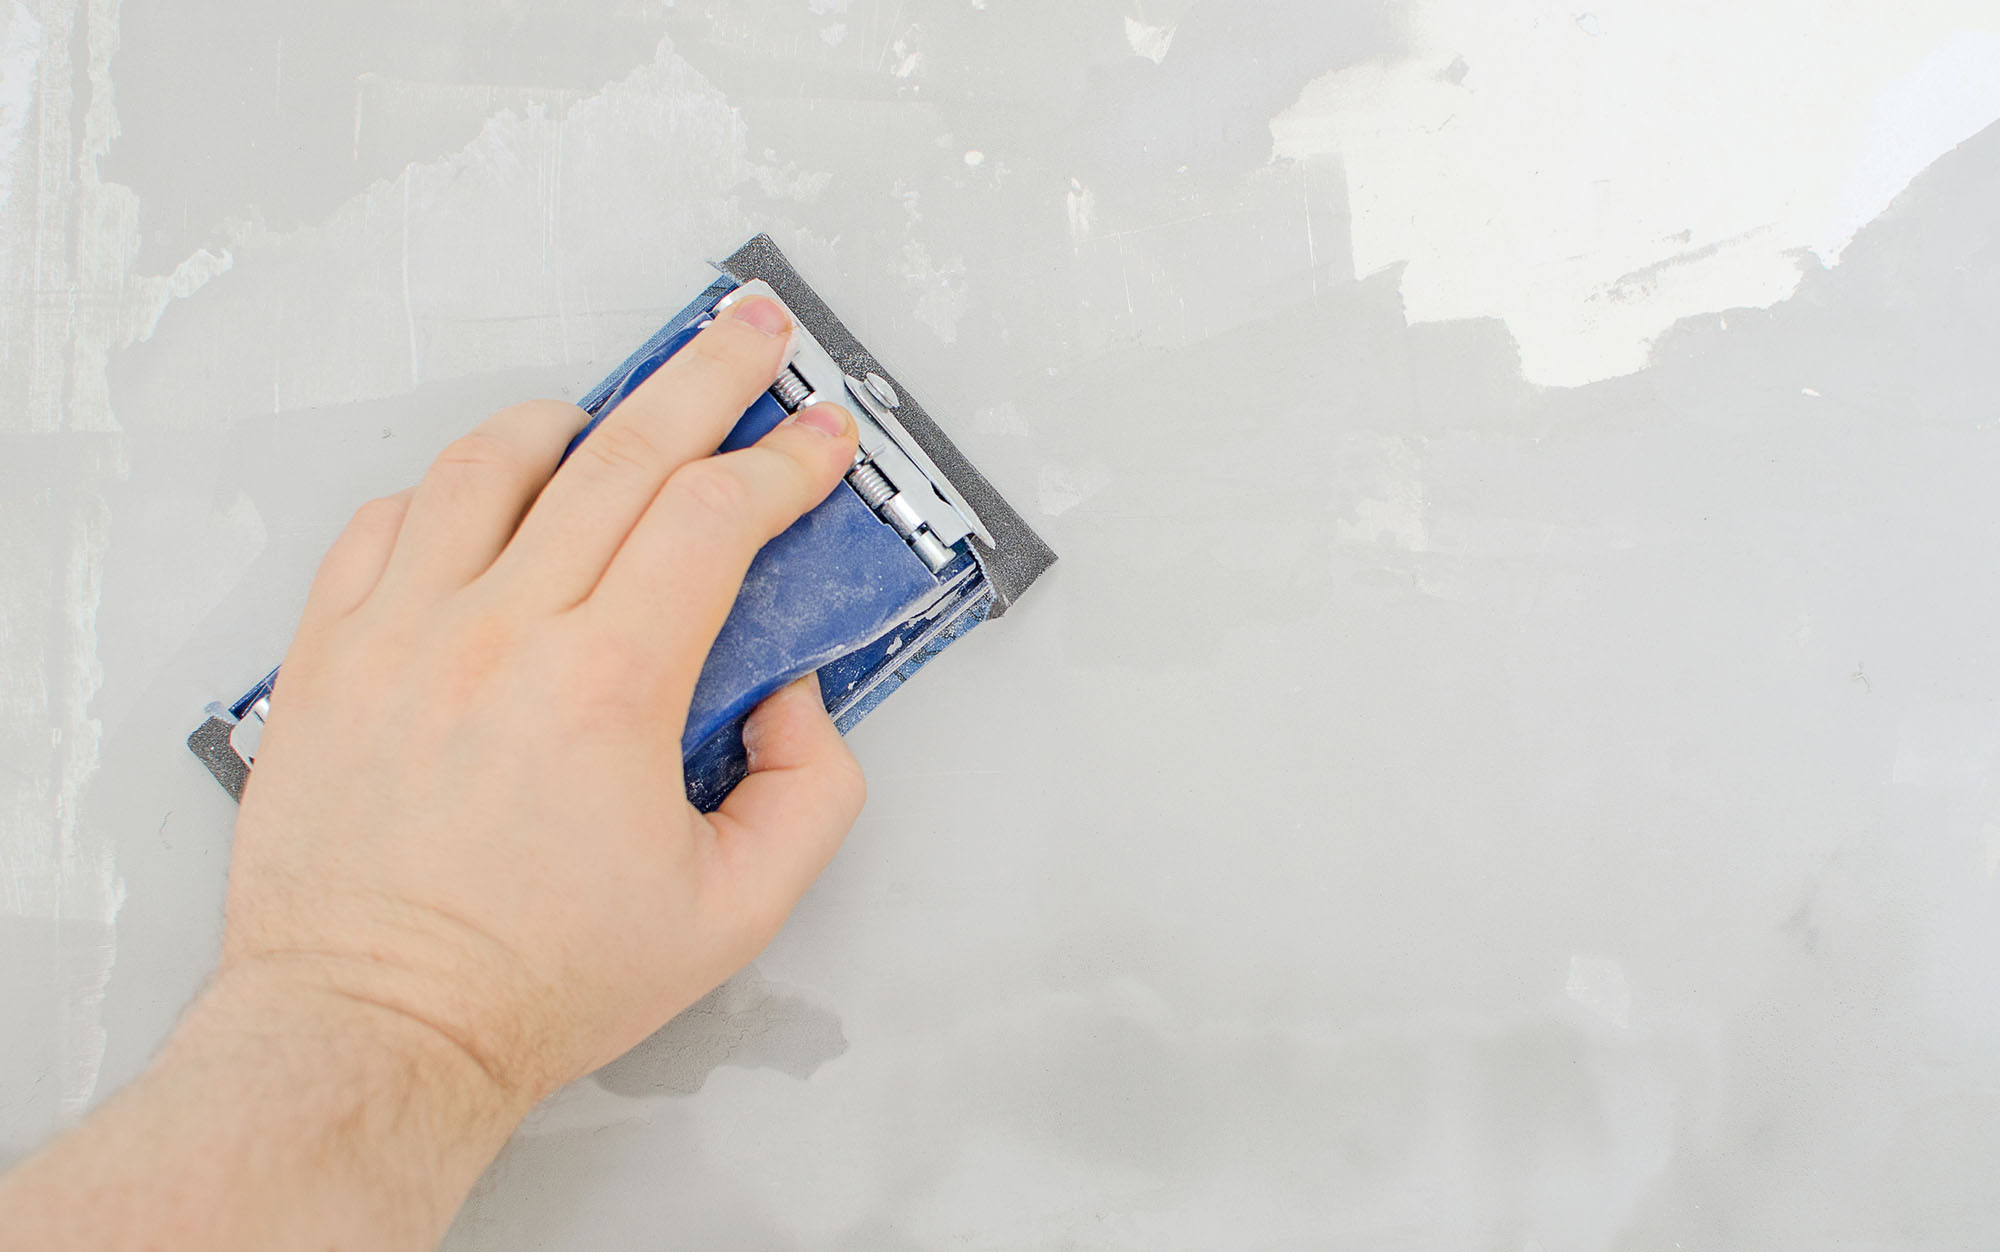
6) Once the compound has dried completely, give it a good going over with the sandpaper.
7) Apply a second layer of compound, allow to dry, and follow up with sanding

8) Repeat the compound, drying, and sanding process until you have a uniform and level wall surface.
Once the job is done you can put a layer of primer over the repaired section and cover it with paint. And that’s it! Wasn’t that way easier than you expected?


