To paraphrase Jane Austen, it’s a truth universally acknowledged that pretty much anything tastes better when coated in chocolate. Well, maybe not everything, but you get the idea! Strawberries, candied fruit, pastries, and cakes: the list of sweet foodstuffs that can be coated in chocolate is exhaustive and ripe for exploration.
When it comes to chocolate-coating, there are two popular methods—melting and tempering—each with their own positives and negatives. So, if you’re keen to add a little chocolate goodness to your desserts, here’s how to get started.
Melting (The easy way)
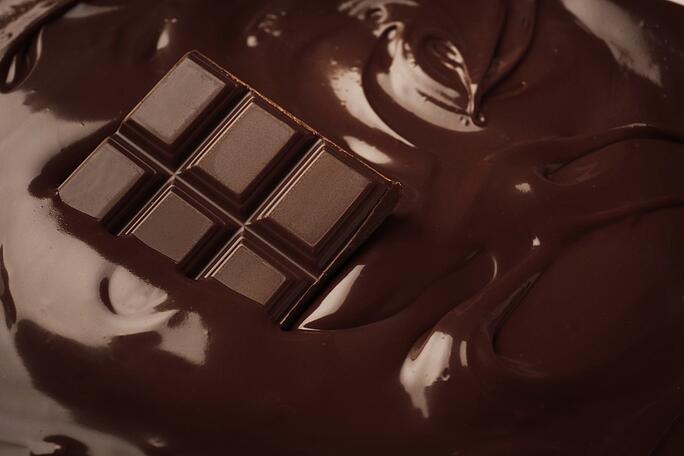
The process for melting chocolate is exactly what it sounds like: the chocolate is melted at a low temperature and then added to recipes or used as a coating prior to hardening. Melting chocolate is easy and quick, but it does have its downsides. When melted chocolate hardens it develops a waxy texture that some may find off-putting. Hardened chocolate also lacks the bright sheen of tempered chocolate. For this reason, melting is perfectly adequate for recipes that incorporate liquid chocolate but not ideal as a coating. However, if you’re just focusing on flavor and aren’t too concerned about appearances, it’s a great way to quickly coat something in chocolate.
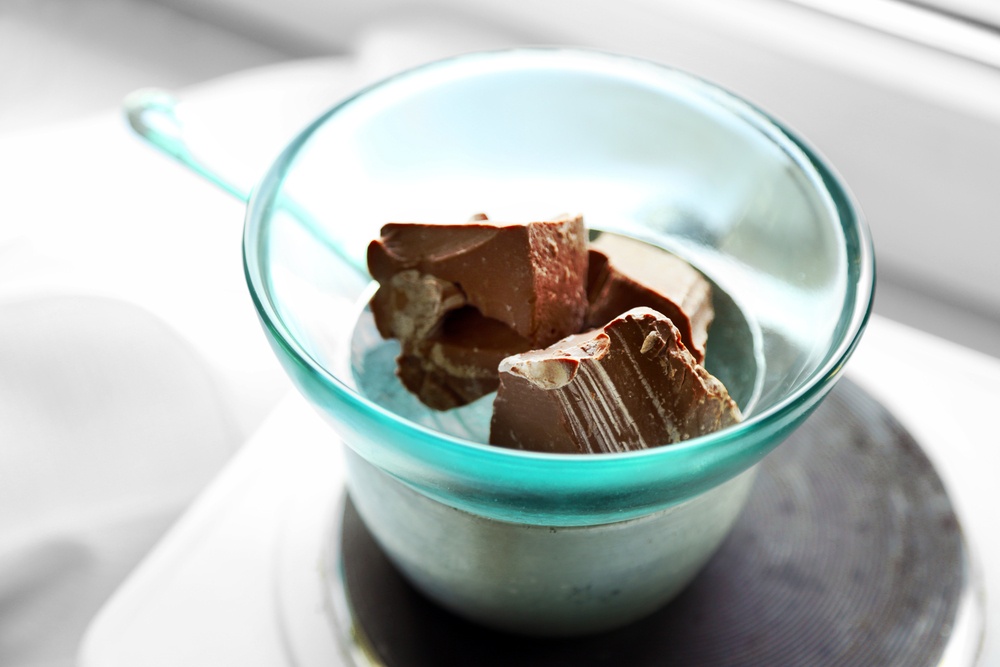
When it comes to melting chocolate, pretty much any type will do. Depending on your sweet tooth, you can use dark, bittersweet, milk, or white chocolate. That being said, for the best balance of flavor and sweetness, we recommend chocolate that has around 60% cocoa solids.
You’ll need:
- A bain-marie (or a heatproof bowl and saucepan)
- Chocolate
- A spatula or wooden spoon
Method:
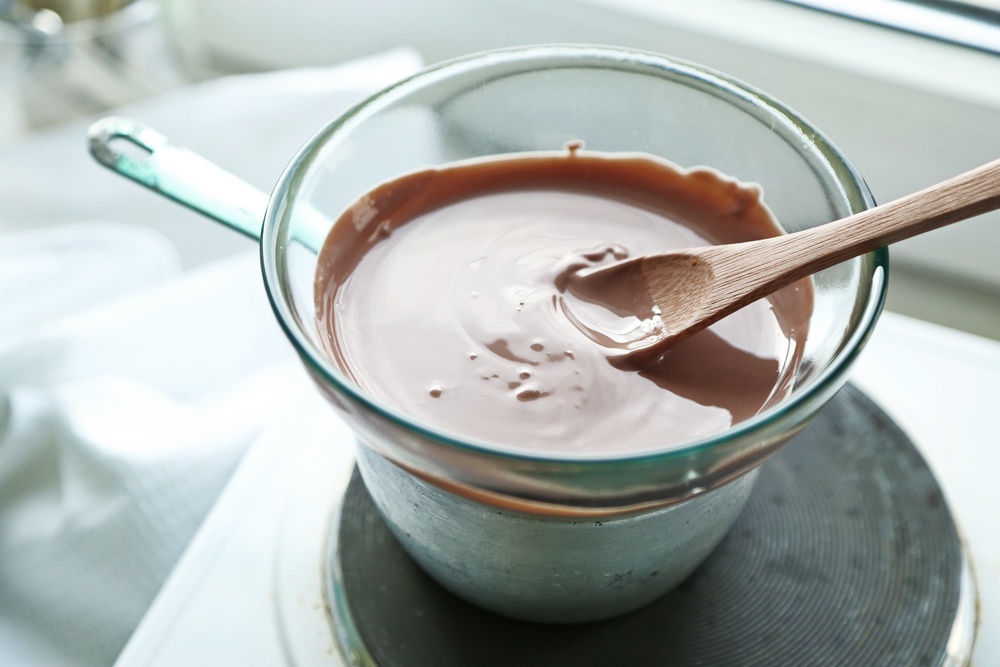
Start by adding a few inches of water to the bottom pan of the bain-marie. Alternatively, add some water to your saucepan and place it over a medium-high heat. You want to get a gentle simmer going but avoid a rolling boil. Once the water is simmering, place the top pan into the bain-marie, or place the heatproof bowl directly into the simmering water. Add the chocolate and stir occasionally until it has melted completely. Once melted, remove from heat and use immediately.
Tempering (The hard way)
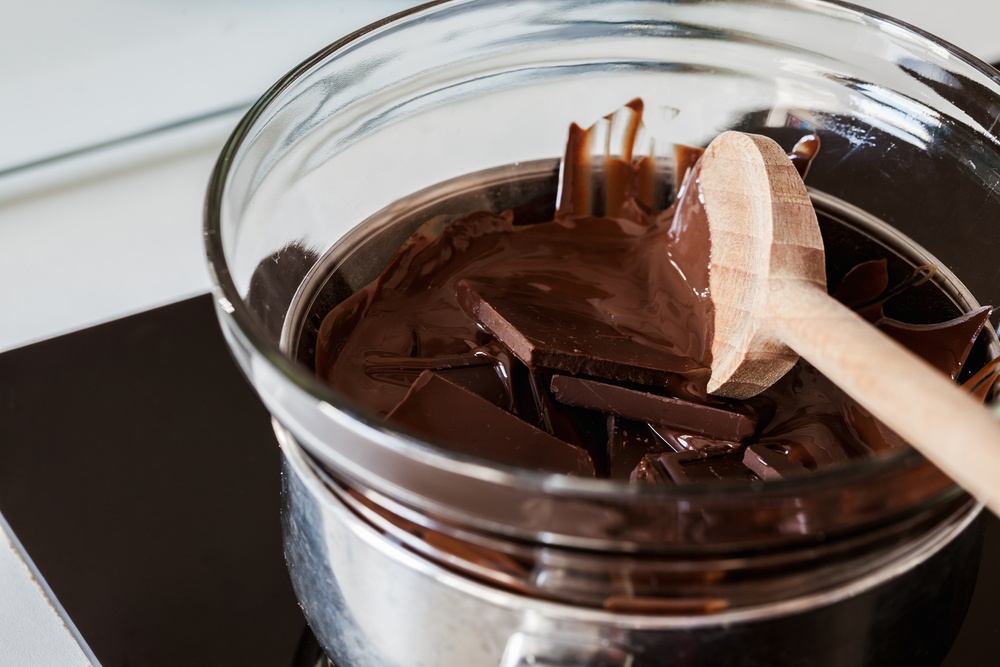
Now that we’ve covered the easy way, it’s time to look at the hard way: tempering! Unlike plain old melting, tempering ensures that the cocoa butter found in chocolate only forms small delicate crystals. This results in chocolate that has a beautiful sheen and pleasant texture once hardened.
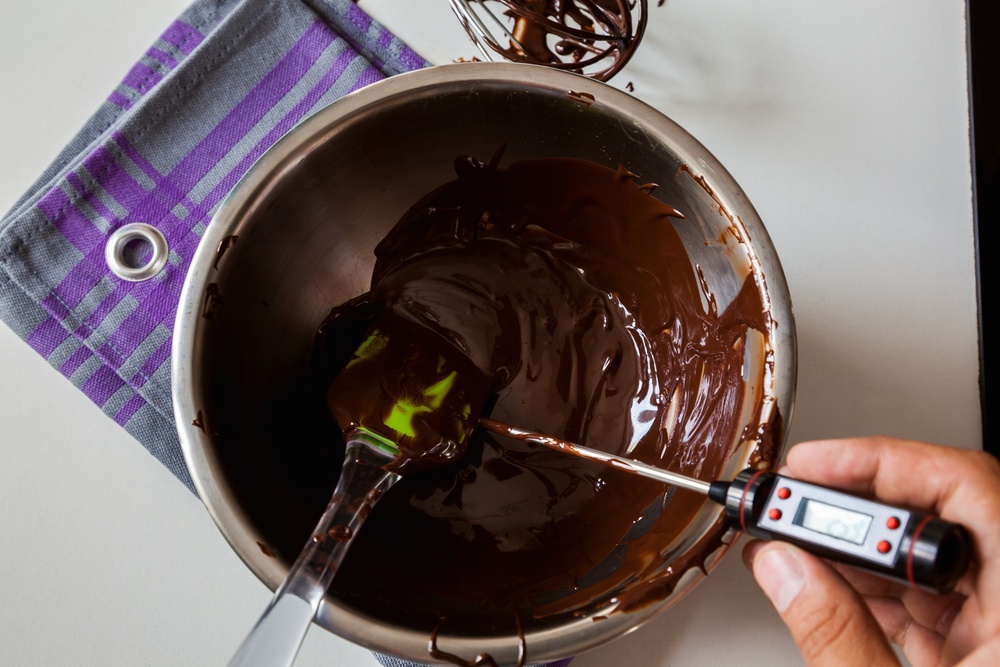
Considering the results, why even bother with melting? Well, unfortunately tempering is a bit of an arduous process. However, if you care about appearances and really want your cocoa creations to pop, it’s the only way to go.
Tempering and melting are in principle the same thing, however, tempering requires careful control of the temperature to prevent blooming. When tempering, make sure you use only the best quality chocolate with at least 60% cocoa solids content.
You’ll need:
- A bain-marie (or a heatproof bowl and saucepan)
- Chocolate
- A spatula or wooden spoon
Method:
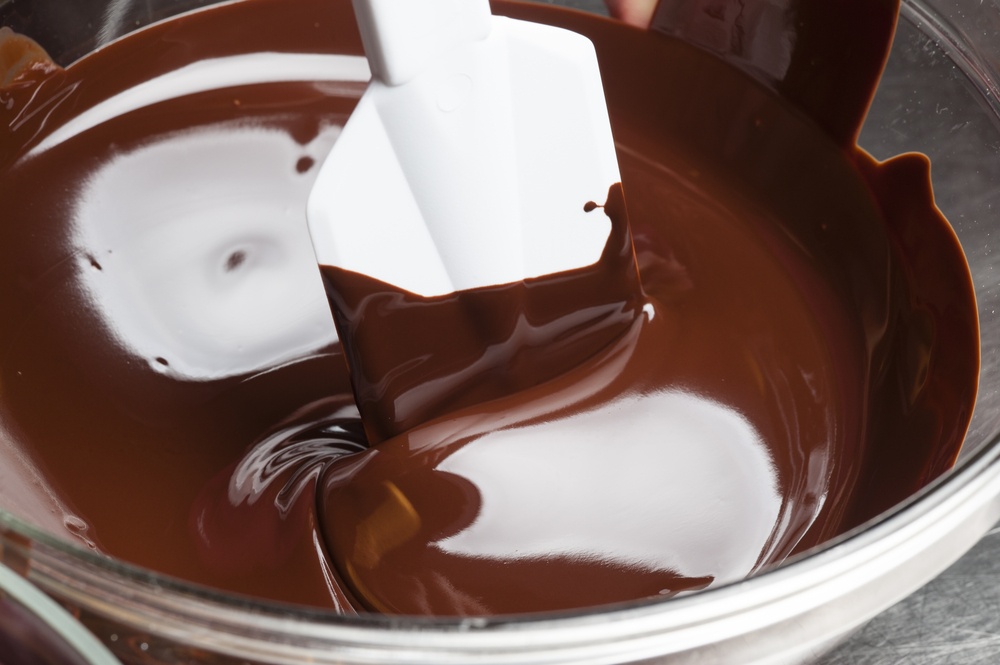
Start by finely chopping up your chocolate. Next, simmer a small amount of water in a pan or a bain-marie. Add about 3/4 of the chocolate into the top pain of the bain-marie or in the heatproof bowl. Stir frequently until the chocolate starts to melt. Once the chocolate reaches a temperature of 113°F – 122°F, remove it from the heat and remove about 1/3 third of the chocolate from the pot and put it aside. Next, add the remaining unmelted chocolate to melted chocolate. Stir constantly until the chocolate melts and it reaches a temperature of 81°F-84°F. Finally, add the melted chocolate you put aside and stir until the mixture reaches a temperature of 88°F.
What to do once you’ve prepared your chocolate
Now that you have you’re melted or tempered chocolate it’s time to start dipping!
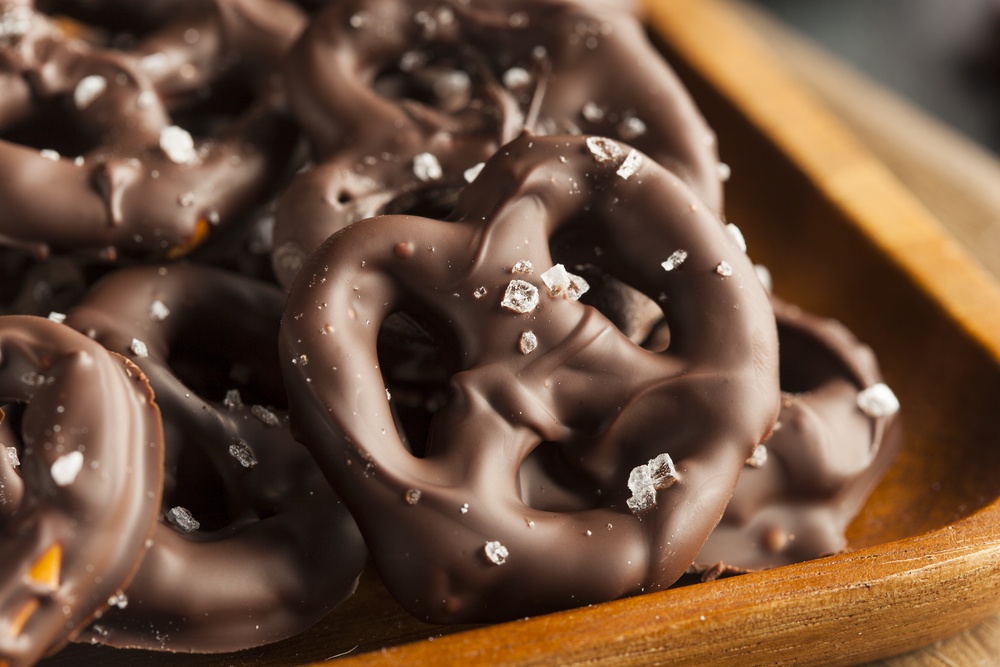
Start by picking your items of choice; in my opinion, strawberries and pretzels are great options! Line a baking sheet with some wax paper and place it next to the bowl of chocolate. Make sure your dipping items are dry before starting, then dip them into the chocolate. Twist the items until they are properly coated, remove from the chocolate and gently shake off any excess. Lay the items on the wax paper and allow to cool and harden. If you’re in a rush, put the items in the fridge to cool them faster.
After your chocolate-coated treats have fully cooled—enjoy!
