Creating your own nut milk is not only cost-effective and eco-friendly, but it is also easier to make than you might think. In terms of equipment, it helps to have a nut milk bag, which are reasonably priced, washable, and reusable, but you could also use a porous cloth such as muslin, cheesecloth, or even a clean bandana or handkerchief instead.
From almonds to cashews to pistachios to hazelnuts, there are near endless types of nuts you can use to make nut milk. In general, you can use any type of nut, as long as they are raw and unsalted. You can use nuts with skins, but the resulting nut milk will not be a pure, white color as blanched almonds or raw cashews would produce.
Making nut milk is straightforward. First, the nuts are soaked in water overnight (or up to twenty-four hours). In the morning, thoroughly rinse the nuts, process in a blender with clean water, strain, and voila!—you have nut milk. You can then enjoy the nut milk as is or sweeten it to taste. If desired, add another layer of flavor with vanilla extract and a pinch of salt.
We recommend making nut milk in small batches, as the only downside to making homemade nut milk (without the stabilizers or preservatives that store-bought nut milk can sometimes contain) is that it will only last about three days in the refrigerator. Store your homemade nut milk in a mason jar or sealed container, sterilized by using the hot cycle in the dishwasher.
After soaking, rinsing, blending, straining, flavoring, and storing your nut milk, you will be left with leftover nut pulp. You can discard this pulp or use it in a variety of ways. If you use a high-speed blender, the strained nut pulp can be used as a no-waste dairy-free cream. The unsweetened nut pulp can be used as a replacement for sour cream or Greek yogurt. Try it as the base for an alternative lime crema and drizzle over steak fajitas or tacos. You can also sweeten the nut pulp and use it on top of chopped fresh fruit or add it to smoothies and milkshakes.
If you use a regular (non high-speed) blender or food processor, you may be left with more of a coarse nut mixture, which, if you pat dry, lay on a baking sheet, and dry out in the oven on low heat, can be added to granola or cereals.
How to Make Your Own Nut Milk
| servings | Active Time | Soaking Time |
| About 4 cups | 10 minutes | Overnight, up to 24 hours |
Ingredients and Tools
Equipment
- Medium glass bowl
- Blender or food processor
- Nut milk bag or suitable straining cloth
- Colander or fine-mesh strainer
- Large measuring cup with spout or jug
- Large mason jar or jug
Ingredients
- 2 cups raw cashew nuts (or any raw nuts)
- Maple syrup, honey, or agave, to taste (optional)
- Vanilla extract, to taste (optional)
Directions
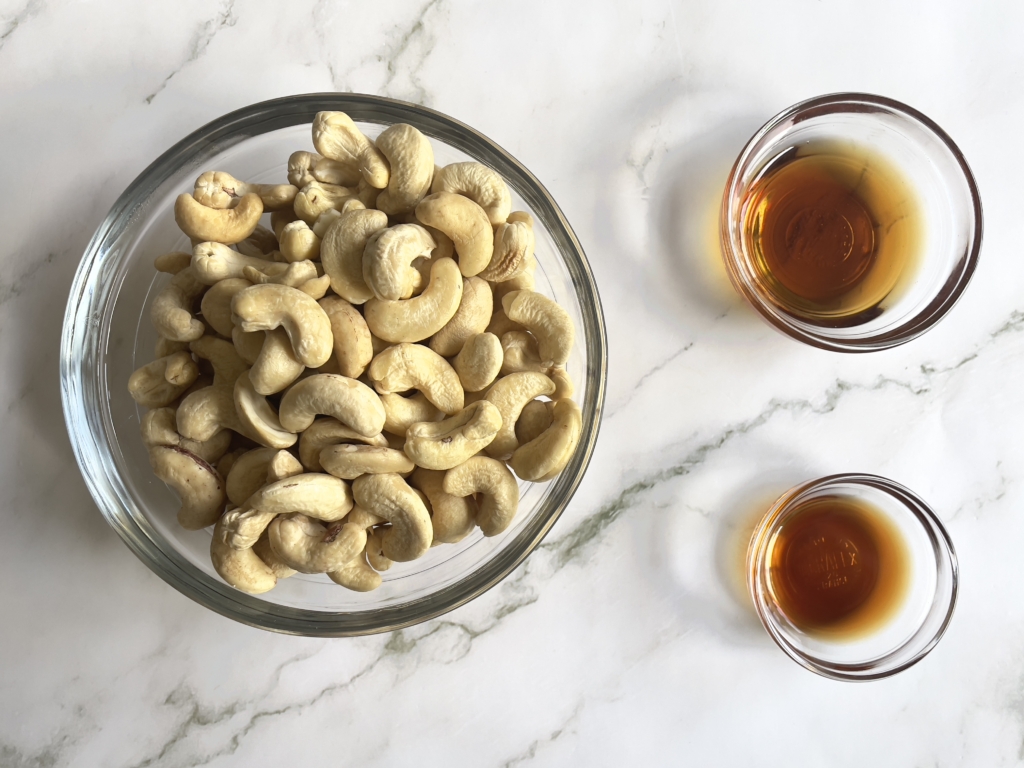
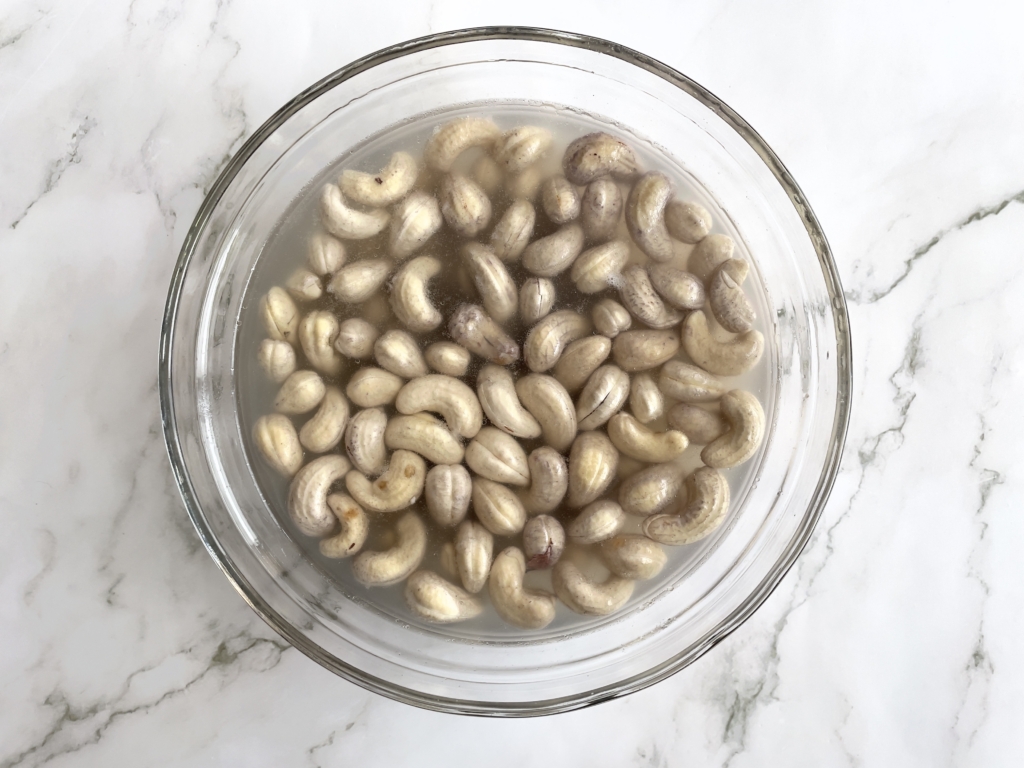
1) Place 2 cups of nuts in a medium glass bowl and cover with 1″ of cold water. Cover the bowl and leave overnight or up to 24 hours at room temperature.
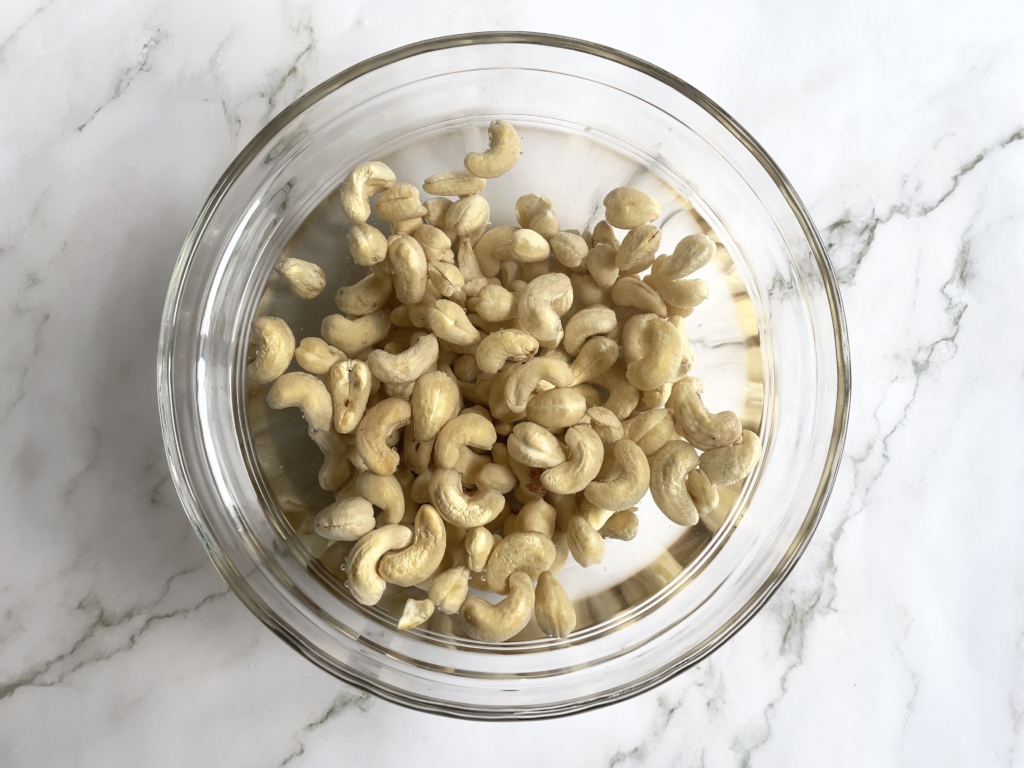
2) After soaking, the nuts will swell and may take on a grayish hue. The water may look a little scummy on the surface, which is perfectly normal and an indication of impurities rising to the surface.
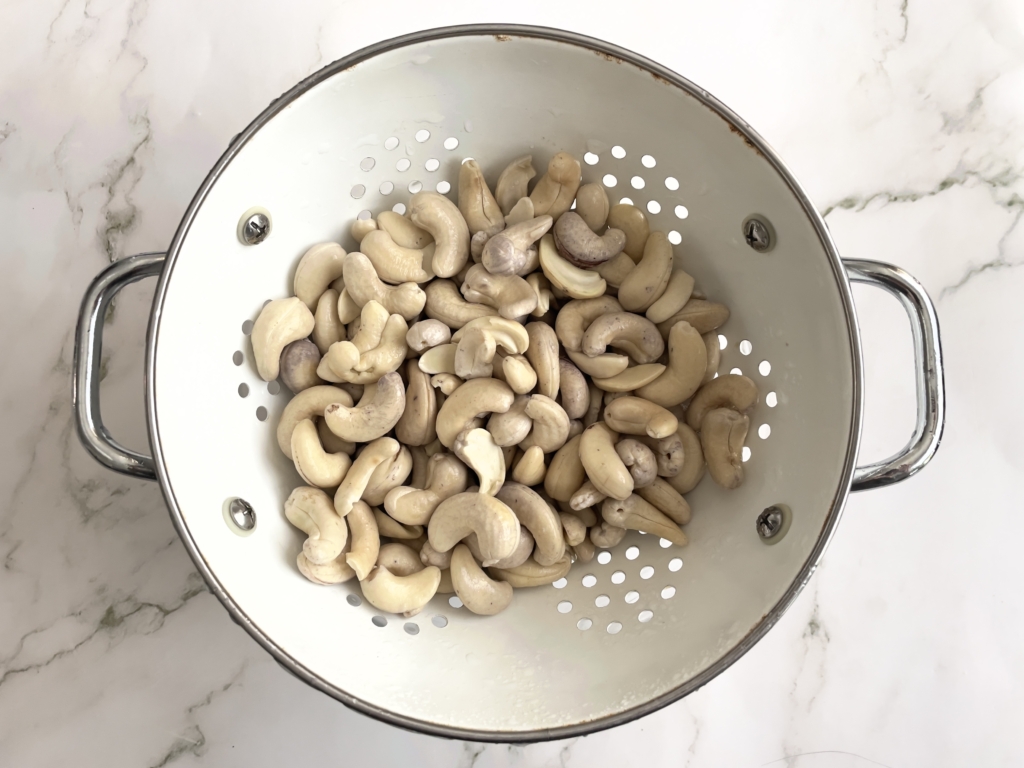
3) Drain the nuts in a colander or fine mesh strainer and rinse thoroughly with cold water.
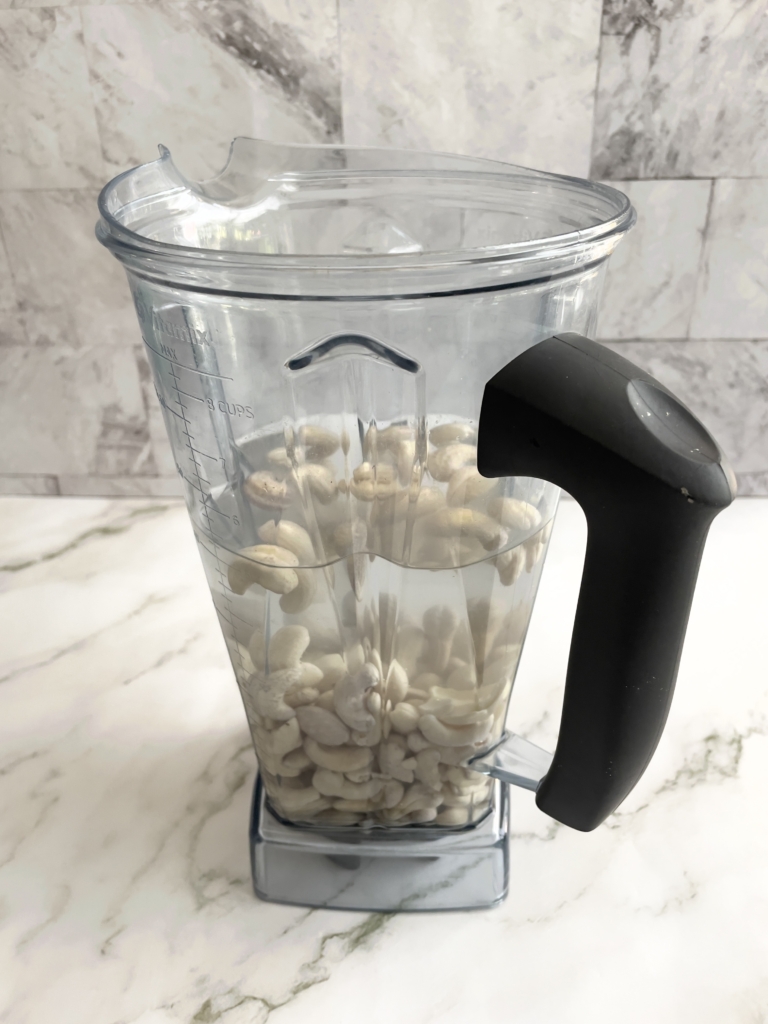
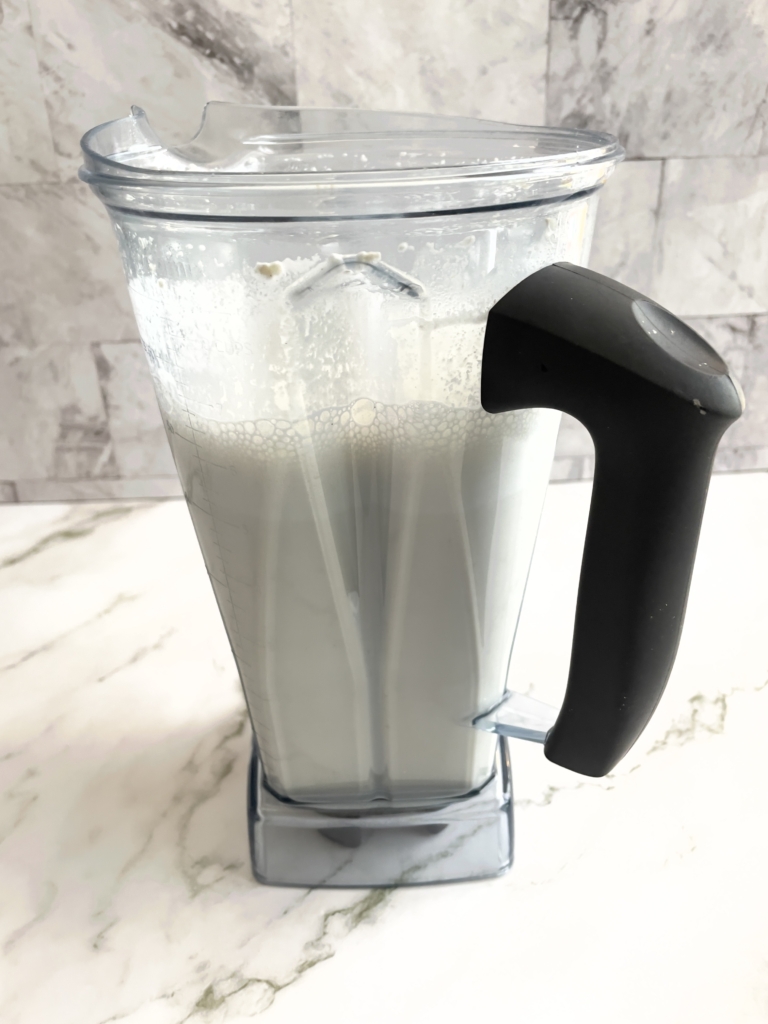
4) Transfer the drained nuts to a blender or food processor. Add 4 cups of fresh water to the nuts and blend on high for 2 to 3 minutes.
5) Set colander or fine mesh strainer over a large bowl or pitcher. Line the colander with the nut milk bag or cloth, folding the edges over the colander so there is plenty of overhang.
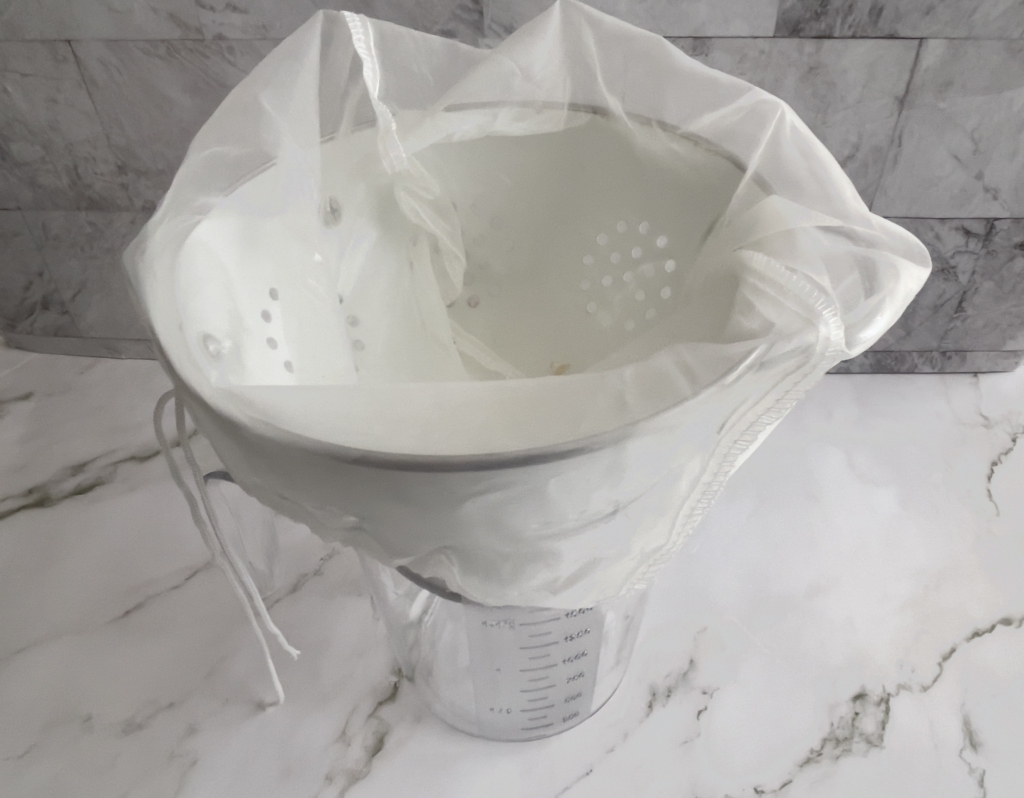
6) Pour blended nut milk into the nut milk bag set in the colander and allow to drain (this may take up to 15 minutes). Use a spoon to stir the pulp and encourage any lingering liquid to drain into the bowl below. If you wish to sweeten the milk, add maple syrup, honey, or agave to taste, and a dash of vanilla extract. You may like to add a pinch of salt to enhance the flavors.
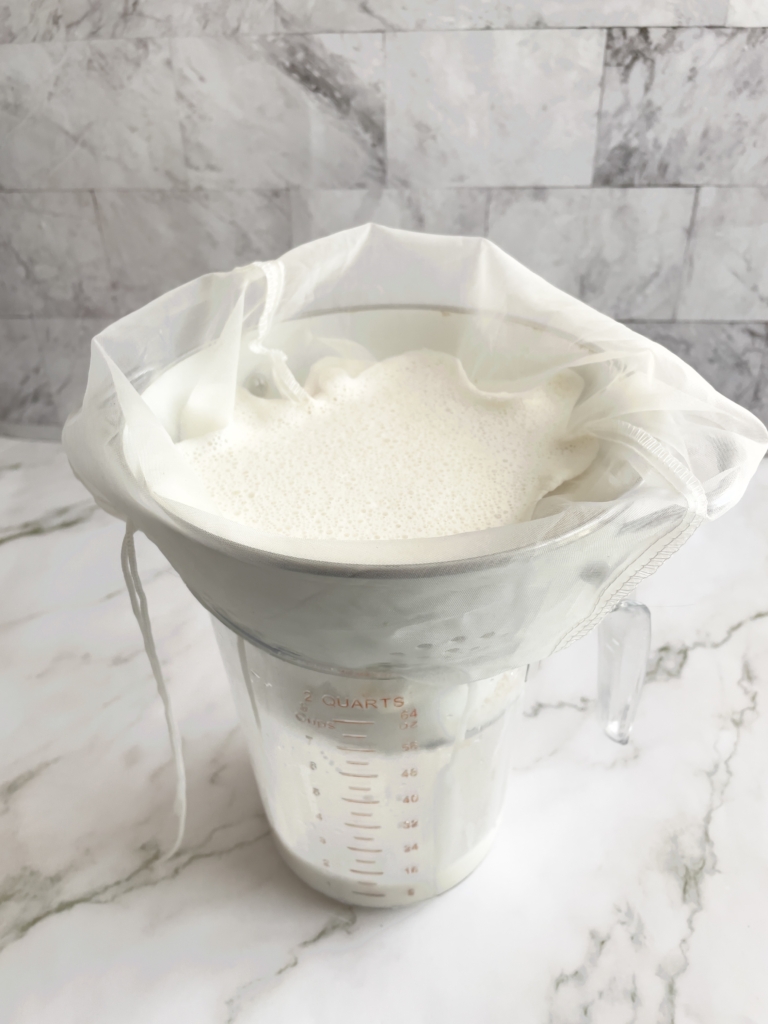
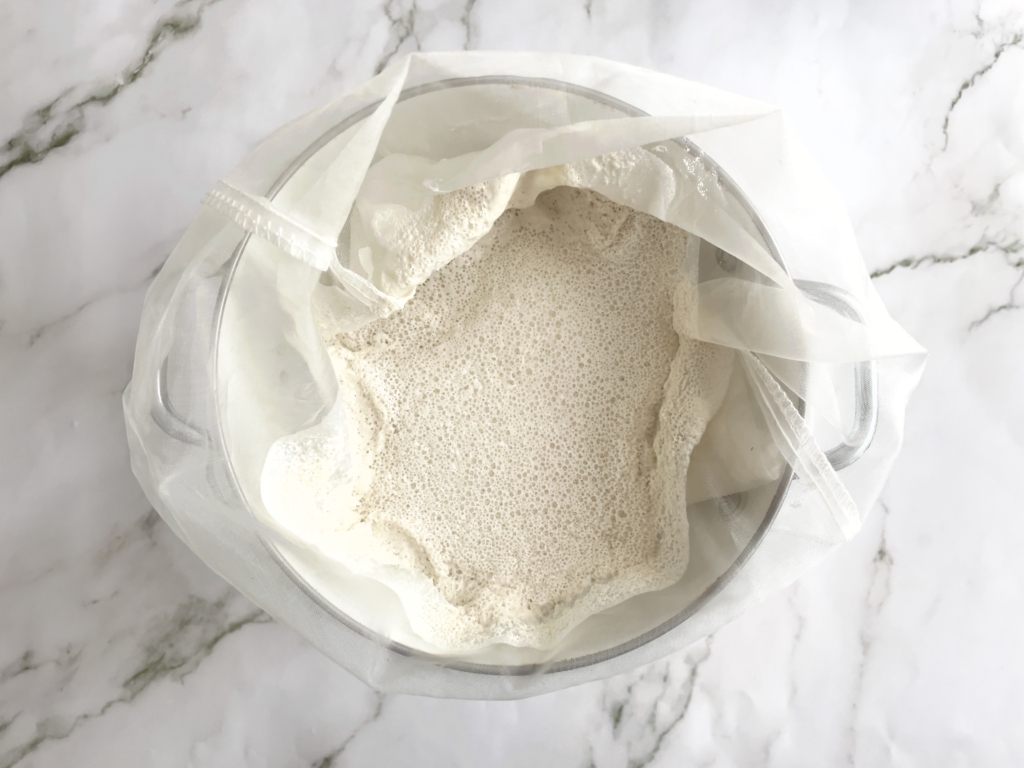
7) Transfer nut milk to a clean airtight jar and store in the refrigerator for up to 3 days. Chill before serving. If you are saving the reserved blended cream, transfer to a small airtight container and flavor accordingly to taste.
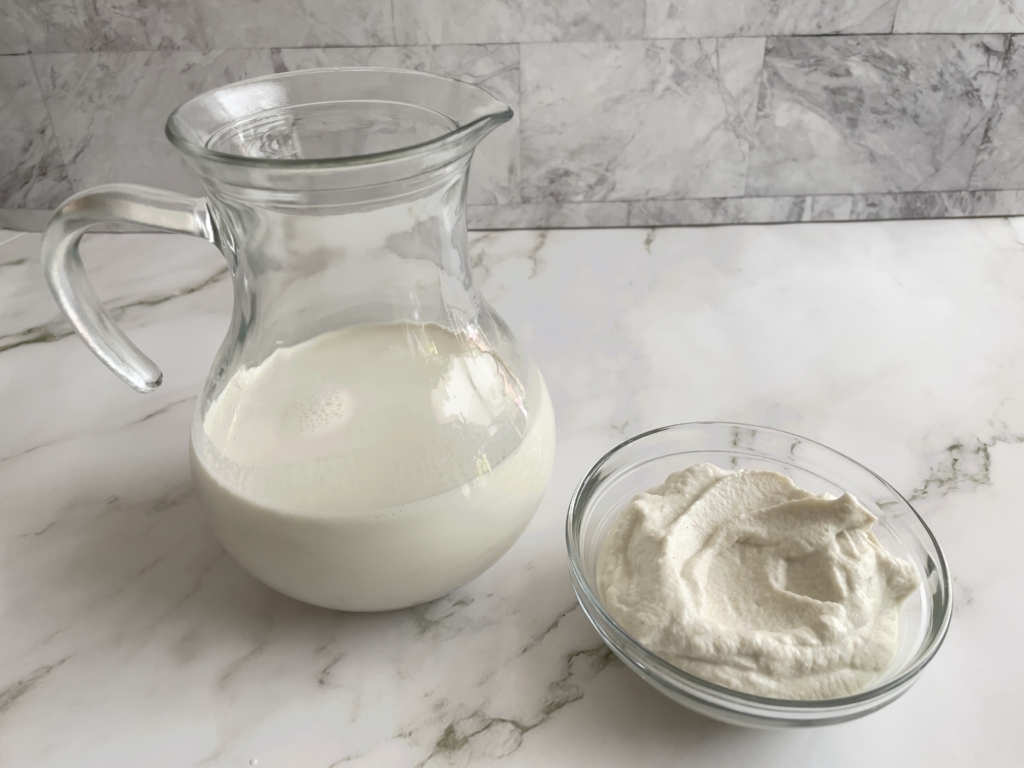
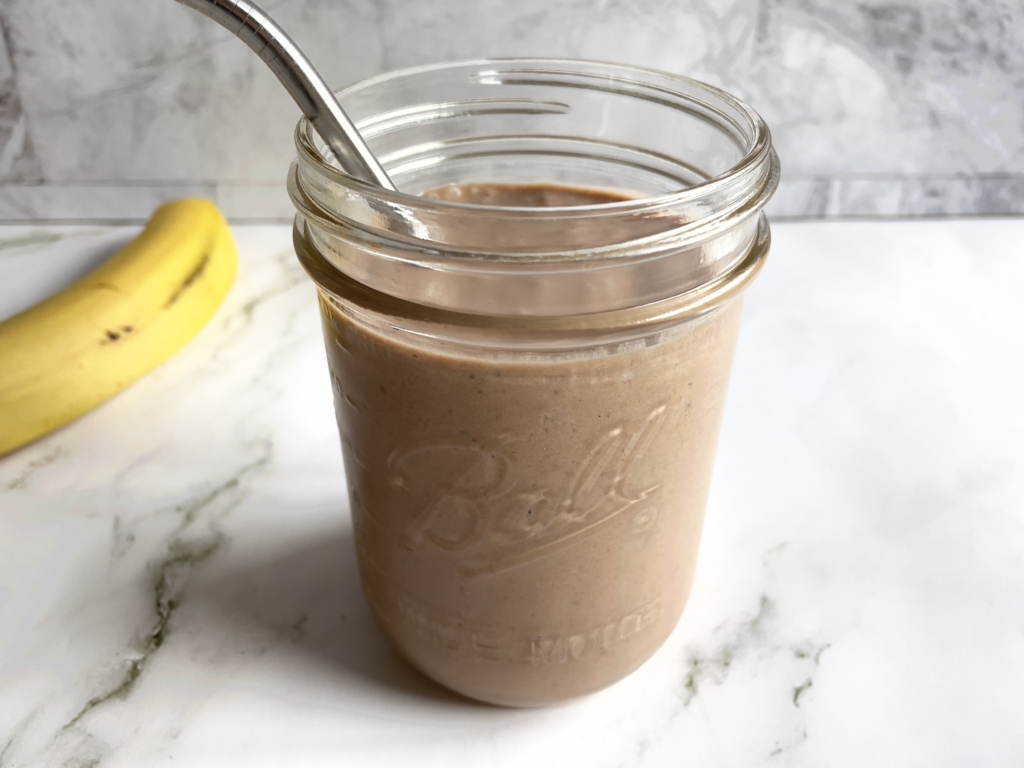
8) Optional: To make a chocolate, banana-nut dairy-free milkshake, combine 1 cup nut milk, 1 cup ice, 2 ripe bananas, 3 scoops vegan vanilla ice cream, ¼ cup peanut butter (or cashew or almond butter), 2 tbsp maple syrup, 1½ tbsp unsweetened cocoa powder, 1 tablespoon of reserved cashew cream, and a pinch of salt in a blender. Blend until smooth, about 1 minute. Pour into glasses and serve. Serves 2.
RECIPES TO TRY:
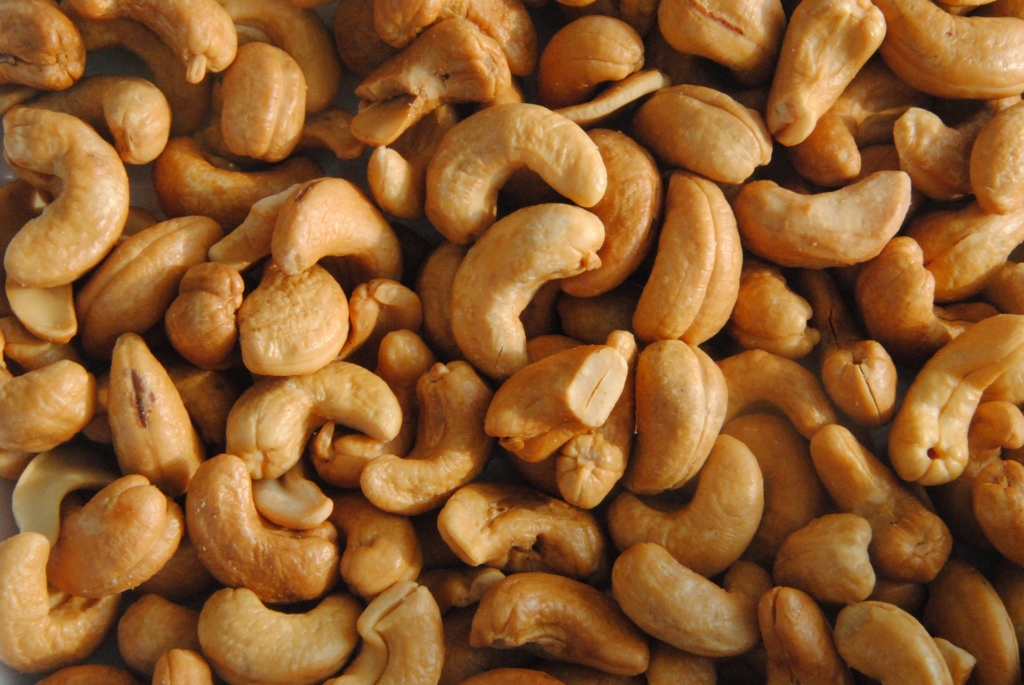
How to Cook with Cashews
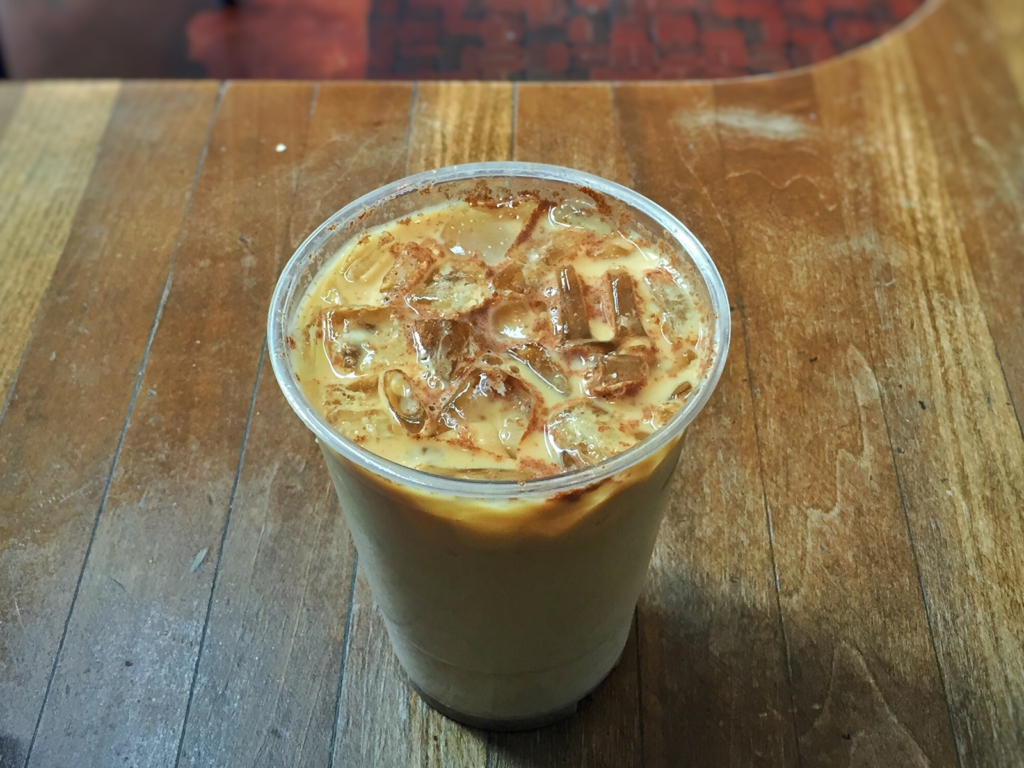
Have Another Horchata
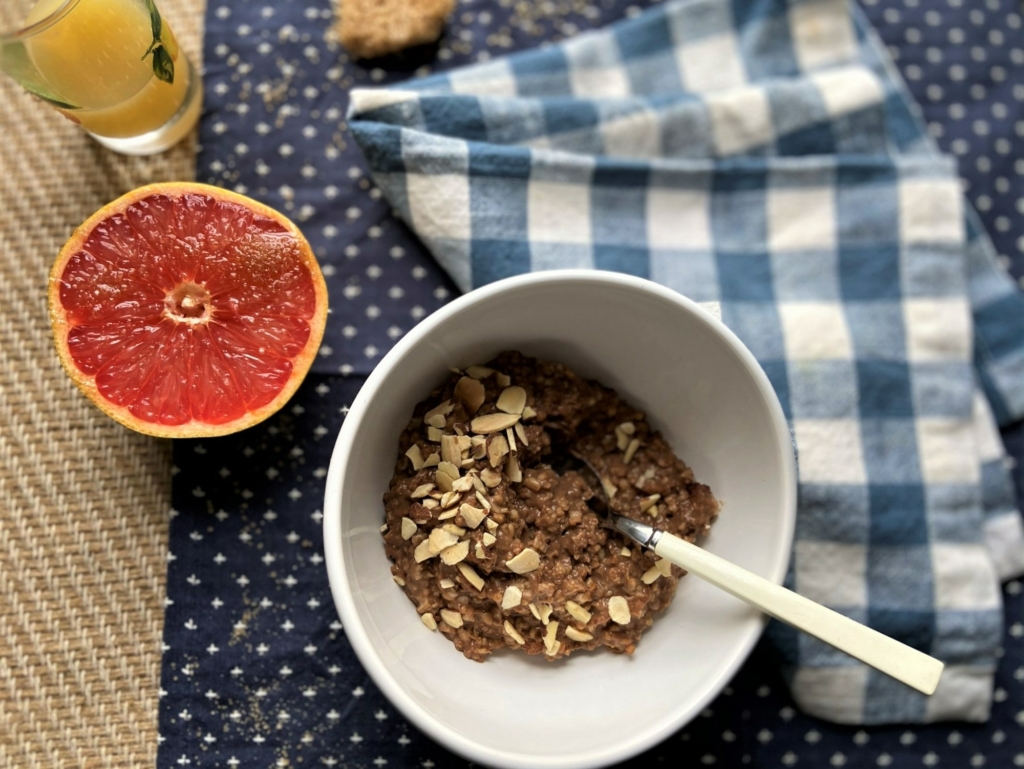
Mocha Almond Oatmeal
FAQs
Can I use any type of nuts to make nut milk?
Yes, as long as they are the raw (and preferably unskinned) variety.
Help, I don’t own a nut milk bag. What can I use instead?
You can use any porous material like muslin or cheesecloth, a clean handkerchief, or a bandana.
Should I blanch the nuts first?
You don’t need to if the nuts are raw. If they have skins, like whole almonds, you may like to blanch to help remove the skins.

