Tamales are a Mesoamerican dish consisting of a soft corn dough that surrounds a flavorful filling that is wrapped in corn husks or banana leaves. The cornmeal dough is made with masa harina, lard, and broth, and is stuffed with a variety of fillings – usually seasoned meat in a spiced sauce.
The Origin of Tamales
Tamales are centuries old (historians maintain that tamales date back thousands of years to the Aztecs and Maya) and originally came from the large area spanning Mesoamerica, but became popular throughout Mexico, Central America, and eventually all over the world. Tamales made their way into the United States in the 1800s, starting in Spanish-speaking areas of California, Arizona, and Texas. Today, tamales can be found with an endless variety of fillings depending where in the world you’re located.
Making tamales as a group is a celebrated ritual for many Latin American families on Christmas eve (or around the Christmas holidays). Dozens of tamales are made and the leftovers are shared between the group to be taken home. My Texan friend of Mexican descent assures me they can be frozen (before or after steaming) for months and months (just be sure to defrost the tamales before cooking)!
Three Tamale Tips and Hacks
1) Use hot water. Typically, corn husks are soaked in cold water for at least 3 hours, separated, and soaked again overnight before using. To speed up the process, however, I found a quick hack: soak the corn husks in hot tap water for 10 minutes, separate them, then soak them again in hot water for 10 minutes. This process makes the corn husks pliable and easy to work with without the long soaking time.
2) Always soak more corn husks than you need. The husks are fragile and can break or rip easily or might even be damaged already. If any do break, cut them into ¼-inch thick strips to use as ties to hold the tamales together.
3) Patch the gaps. If your corn husk splits and the filling starts to ooze out when rolling and wrapping your tamales, rip a piece of corn husk from another spare or damaged husk, lay it over the rip, and continue to roll so that the extra layer covers the tear.
Suggested Fillings for Tamales
For this recipe, I made a quick filling using rotisserie chicken, enchilada sauce, hot sauce, Mexican cheese blend, canned diced green chiles, and black beans. While untraditional, this recipe saves time so you don’t have to slow-cook or braise meat for hours. Here are some other Suvie recipe ideas that you could use as alternative tamale fillings:
- Pulled chicken chile verde
- Braised pork
- Chile-braised pork shoulder
- Pulled pork tossed in chile sauce
- Chicken and cheese
- Borracho black beans
Temperature and Cooking Time for Tamales in Starchie
| Device | Setting | Time |
| Suvie Starch Cooker | Steam | 45 minutes |
Recipe: Chicken, Black Bean & Cheese Tamales

| Servings | Active Time | Cook Time |
| 12 tamales (in 2 batches) | 45 minutes | 45 minutes, plus preheating |
Ingredients and Tools
Equipment
- Stand mixer with paddle attachment or hand held mixer
- Fork
- Starchie
- Starchie rice pot
- Strainer insert
- Butchers twine (or strips of husk) for tying
- Scissors
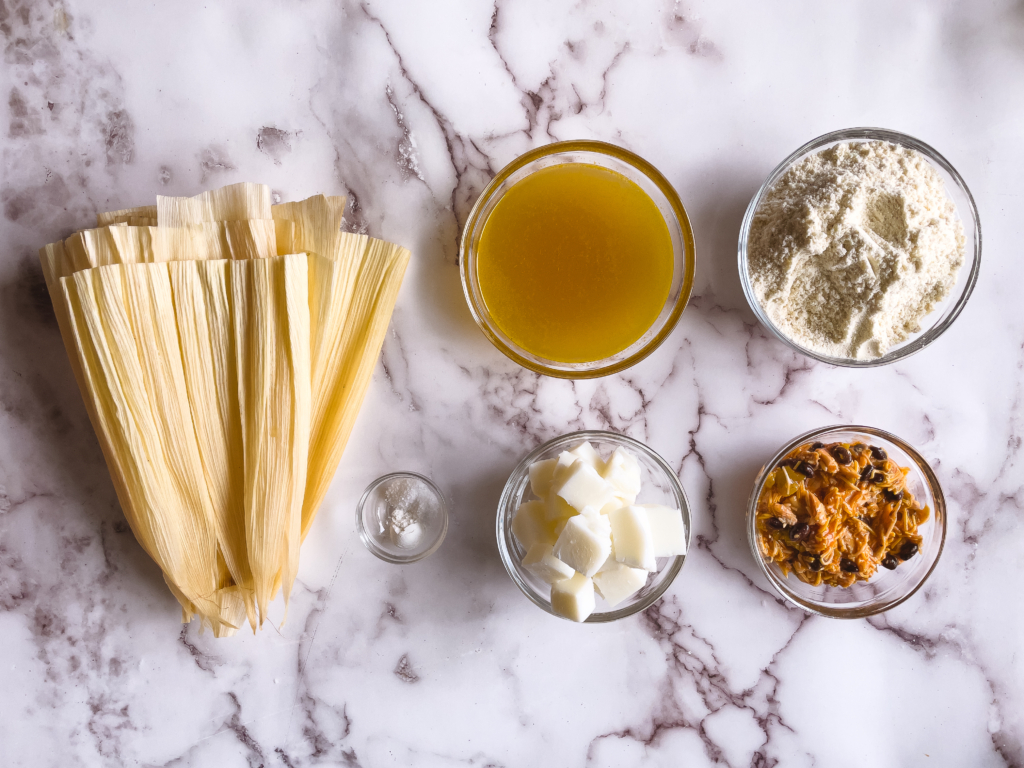
Ingredients
- 20 dried corn husks (to allow for breakages)
- 1 ¾ cups masa harina
- 1 ¼ cups chicken broth, divided
- 1 cup lard (about 7 ounces), cubed
- ¾ tsp kosher salt
- ½ tsp baking powder
- ¾ cup filling of your choice (see suggested filling below)
- ¾ cup water
Quick and easy filling suggestion (makes about ¾ cup):
- ½ cup shredded rotisserie chicken or cooked chicken breast
- ½ cup finely shredded Mexican cheese blend
- ¼ cup canned black beans, drained and rinsed
- 4 tsp canned diced green chiles, drained
- ½ cup canned enchilada red sauce
- 2 tsp hot sauce, optional
Directions
1) Place 20 corn husks in a large bowl and cover with hot tap water. Allow to soak for 10 minutes. Drain husks, carefully separate them, and cover again in hot water for at least 10 more minutes. Rip or cut 1 soaked husk into ¼ -inch thick lengthwise strips for tying the tamales (use any damaged or ripped corn husks). Soak husks until ready to roll, removing them one at a time and keeping the rest in water as you work.
2) Meanwhile, add 1 ¾ cups masa harina and 1 cup chicken broth to the bowl of a stand mixer fitted with a paddle attachment. With the mixer on low, stir together until large crumbles have formed.
3) Increase the speed to medium-low, beat in 1 cup lard, remaining ¼ cup chicken broth, ¾ tsp kosher salt, and ½ tsp baking powder until light and fluffy, about 2 minutes, scraping down the sides halfway. To test the dough to see if it is ready, roll a tiny ball of dough, add it to a small bowl of water, and if it floats, the dough is ready. Allow dough to rest for 5 to 10 minutes while you prepare the filling.
4) In a small bowl, add ½ cup shredded chicken, ½ cup finely shredded Mexican cheese blend, ¼ cup drained and rinsed black beans, 4 tsp drained canned diced green chiles, ½ cup canned red enchilada sauce, and 2 tsp hot sauce, if using. Stir to combine.
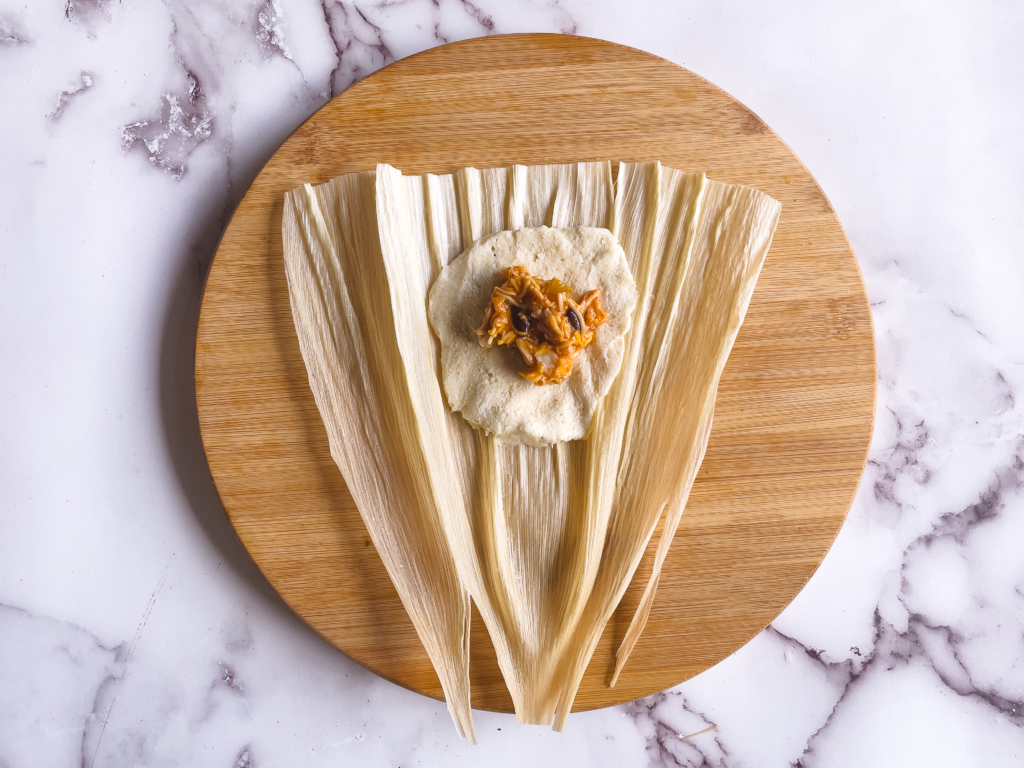
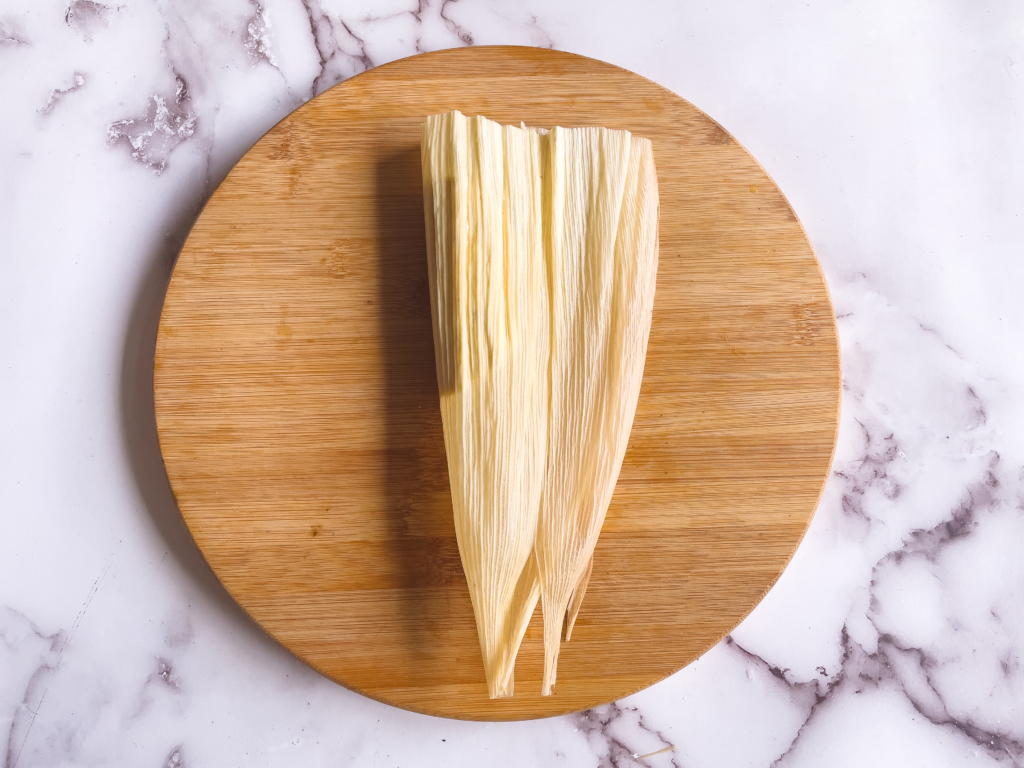
5) Remove one husk. Pat dry with paper towels on both sides, wiping off any marks or spots. Open husk with the wider part at the top and the pointed end at the bottom closest to you. Using damp hands, spread about 2 ½ tbsp masa dough in the top center of the husk, about 2-inches from the top, into a rectangle, about 4″x3″ in size Place 1 tbsp filling in the middle of the masa dough, spread filling to cover the masa leaving about ½ -inch border.
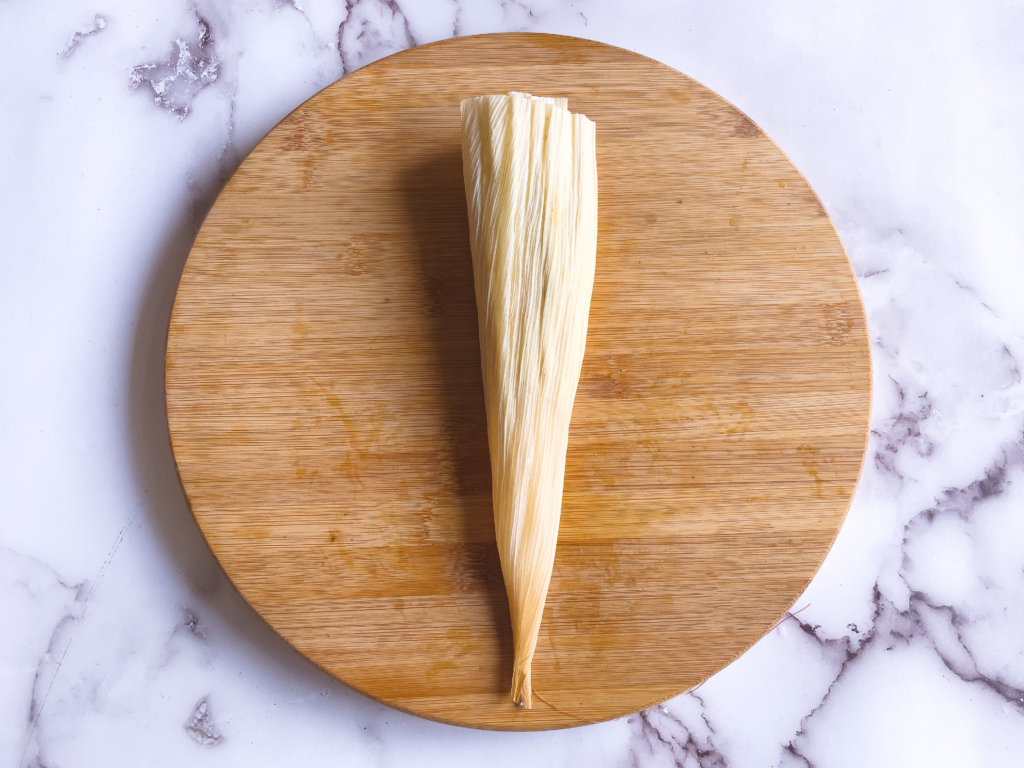
6) Fold the left edge of the husk over to meet the right side so the dough covers the filling.
7) Holding the wrapped filling, continue to roll tightly until you reach the end.
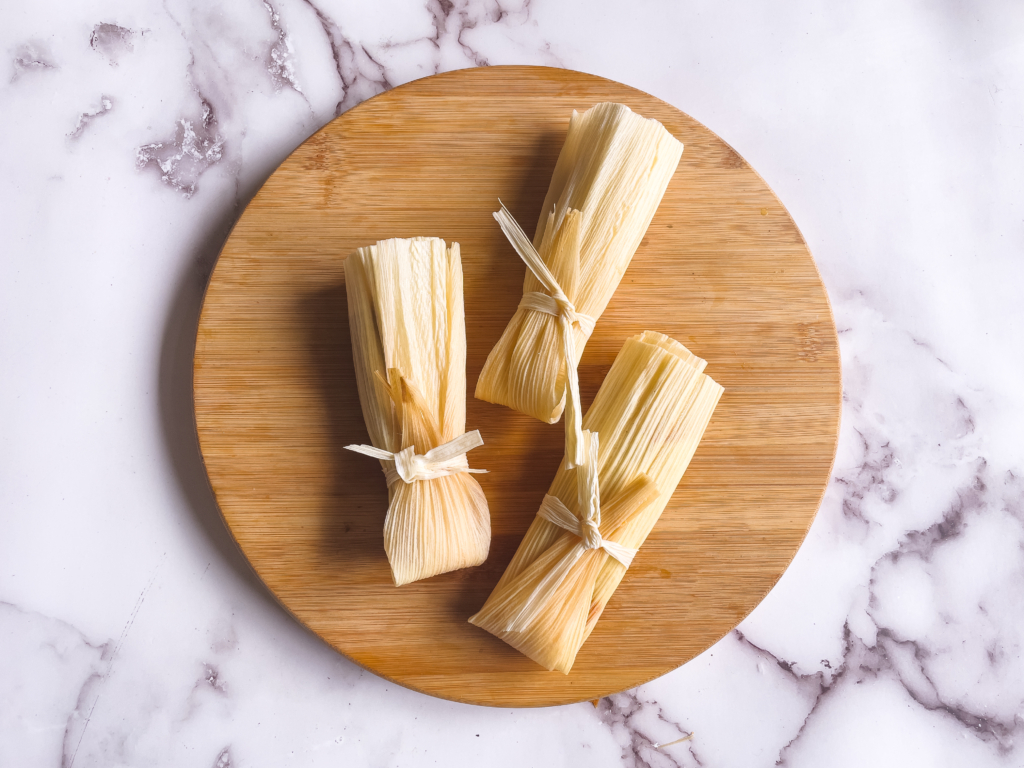
8) Fold up the pointed bottom about 3 ½ to 4 inches to cover the seam and tie tightly with a prepared ¼-inch strip of husk or butcher’s twine. Set aside, and repeat until all 12 tamales are made.
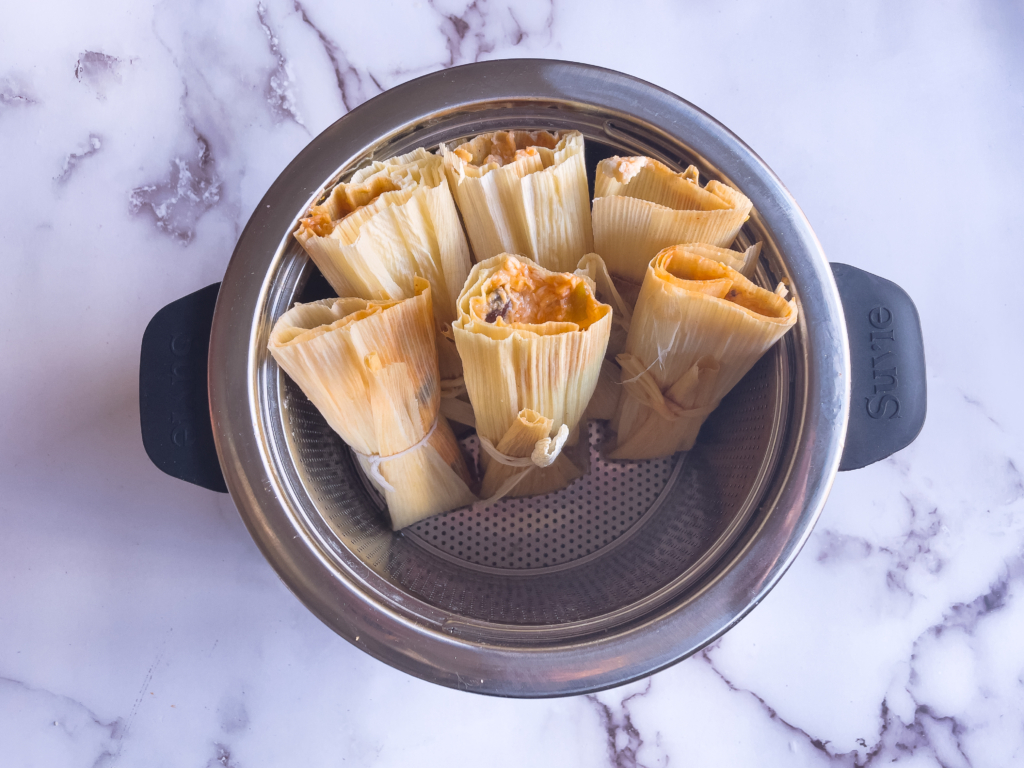
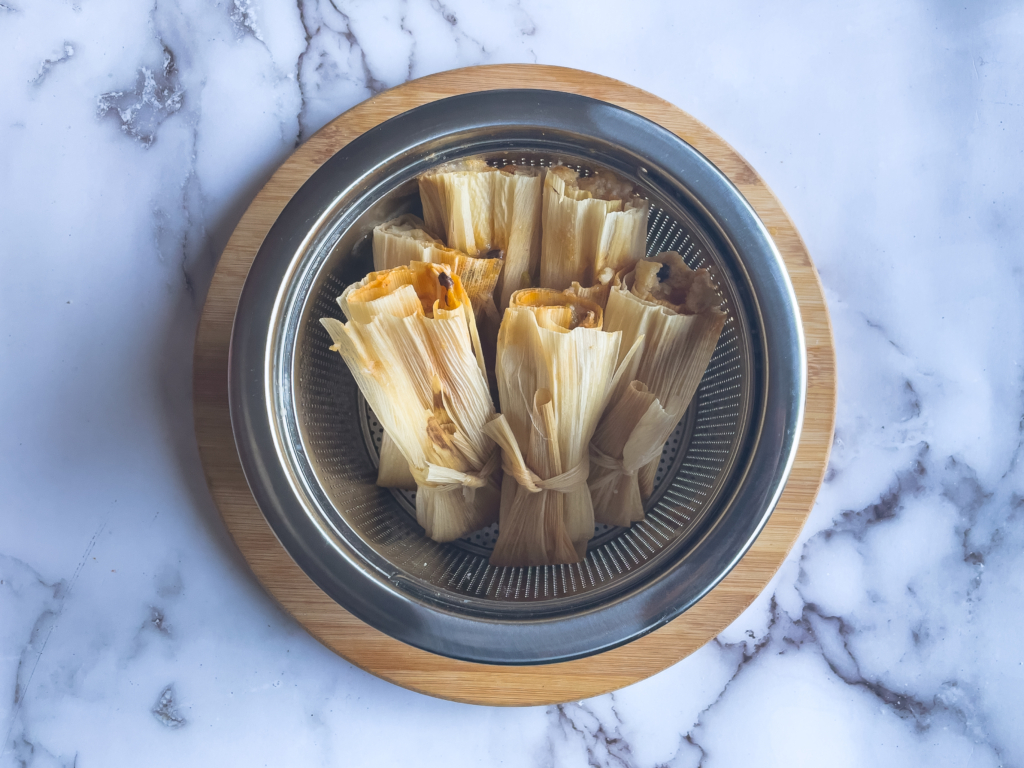
9) Pour 1/2 cup water into the Suvie rice pot (black handles) and place the strainer insert into the pot. Place 1 tamale in the pot upright, seam side down (depending on the size of your husks), check if the tamale is poking out, trim any excess husk from the top of the tamale with scissors to make sure the lid will close. The tamales may need to sit slightly on the diagonal. Repeat until you have 6 (up to 8) tamales standing upright. Cover with lid.
10) Place the rice pot inside the Suvie Starch Cooker, ensuring the pot is centered on the hot plate. Input the following settings and select “Cook Now”.
Suvie Starch Cooker Settings
Steam, 45 minutes
11) Once the tamales are done cooking, remove strainer insert and set on a plate for 5 to 10 minutes to allow the tamales to firm up. If cooking all the tamales, repeat the process. Serve tamales with the accompaniments of your choice, such as hot sauce. If storing tamales, place in a freezer-safe bag or airtight container, and freeze for up to 6 months. Defrost before steaming.
RECIPES TO TRY:
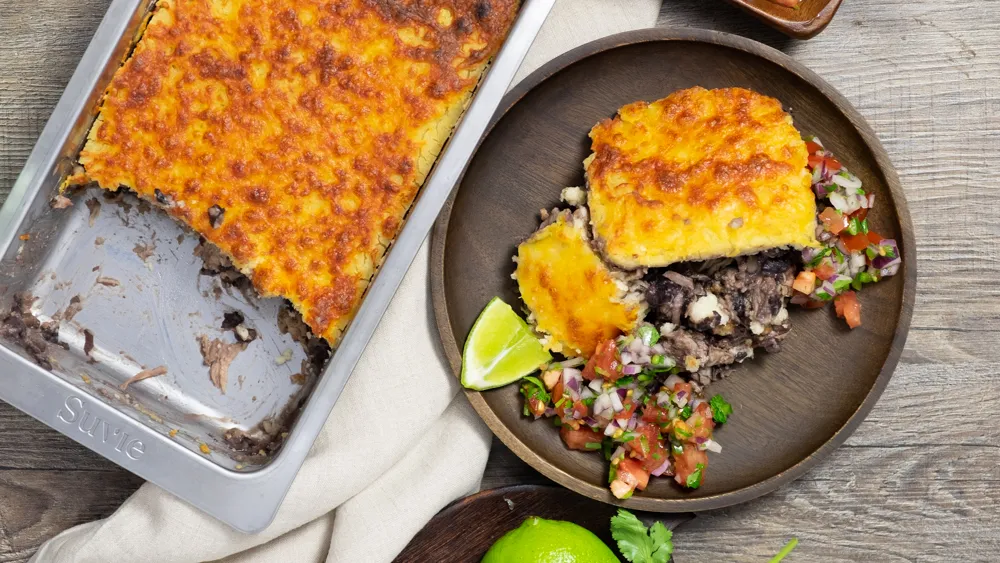
My Cook: Carnitas-Tamale Shepherd’s Pie
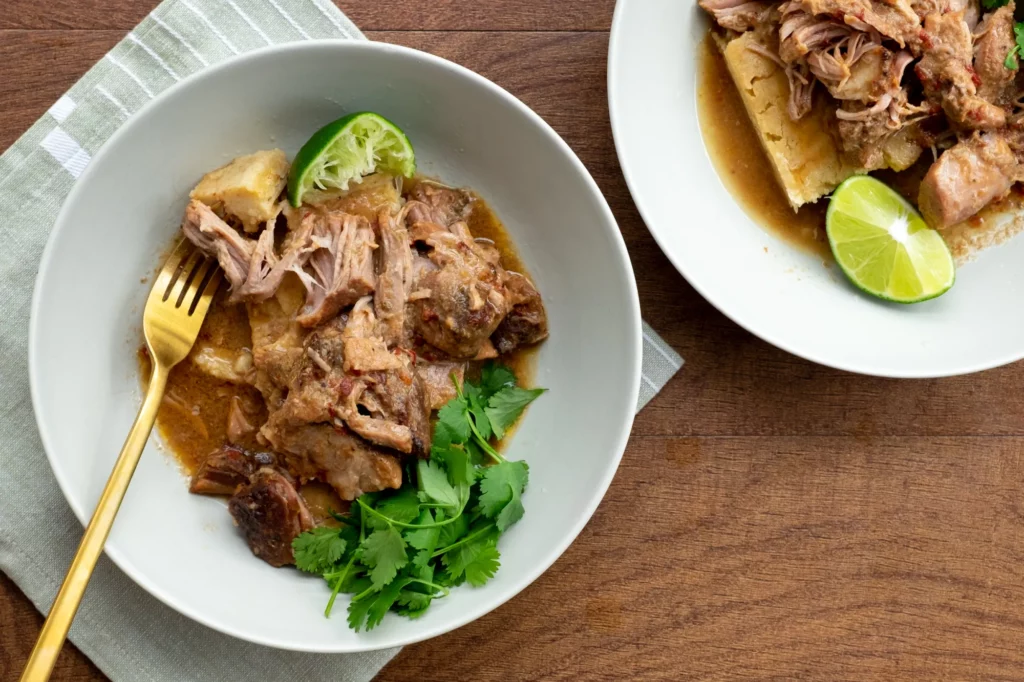
Braised Pork with Tamale
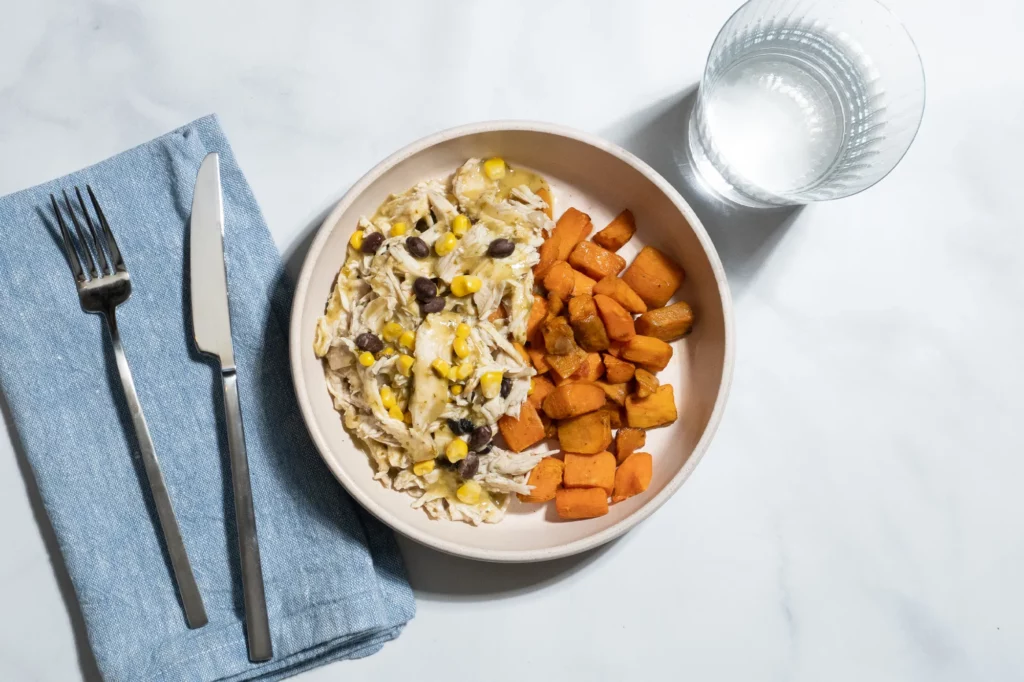
Pulled Chicken Chile Verde with Southwest Vegetables and Sweet Potatoes
Mexican Recipes
White Bean Chili with Masa Dumplings
Beef and Bean Burrito

Pork Mole
FAQ’s
Where can I find these ingredients, as they don’t sell in my local store?
Most grocery stores will carry lard in the frozen foods aisle. If your local store doesn’t carry it, and you do not have a butcher or a Mexican specialty store nearby,you can buy refined lard online. And although not traditional, if you’re in a bind, you could even use duck fat or rendered bacon fat. Again, if your local store doesn’t sell corn husks, they are also available online.
How can I make vegetarian tamales?
You can substitute lard with vegetable shortening and use a “chicken” vegetarian broth, such as ‘No Chicken Better than Boullion’, which is a staple in our house. For a vegetarian filling, mix ½ cup Mexican blend cheese (finely shredded), ⅓ cup corn kernels, ⅓ cup black beans, 2 tablespoons diced green chiles, ½ cup red enchilada sauce, and 1 teaspoon hot sauce.
How long will my uncooked tamales last in the fridge if I am not freezing them?
They will last for 1 week in the fridge (cooked or uncooked), or 6 months in the freezer. They are best wrapped individually in foil or plastic wrap, then in a freezer-safe resealable bag or airtight container.